
Real-time incident management with Ghost Inspector

Last updated
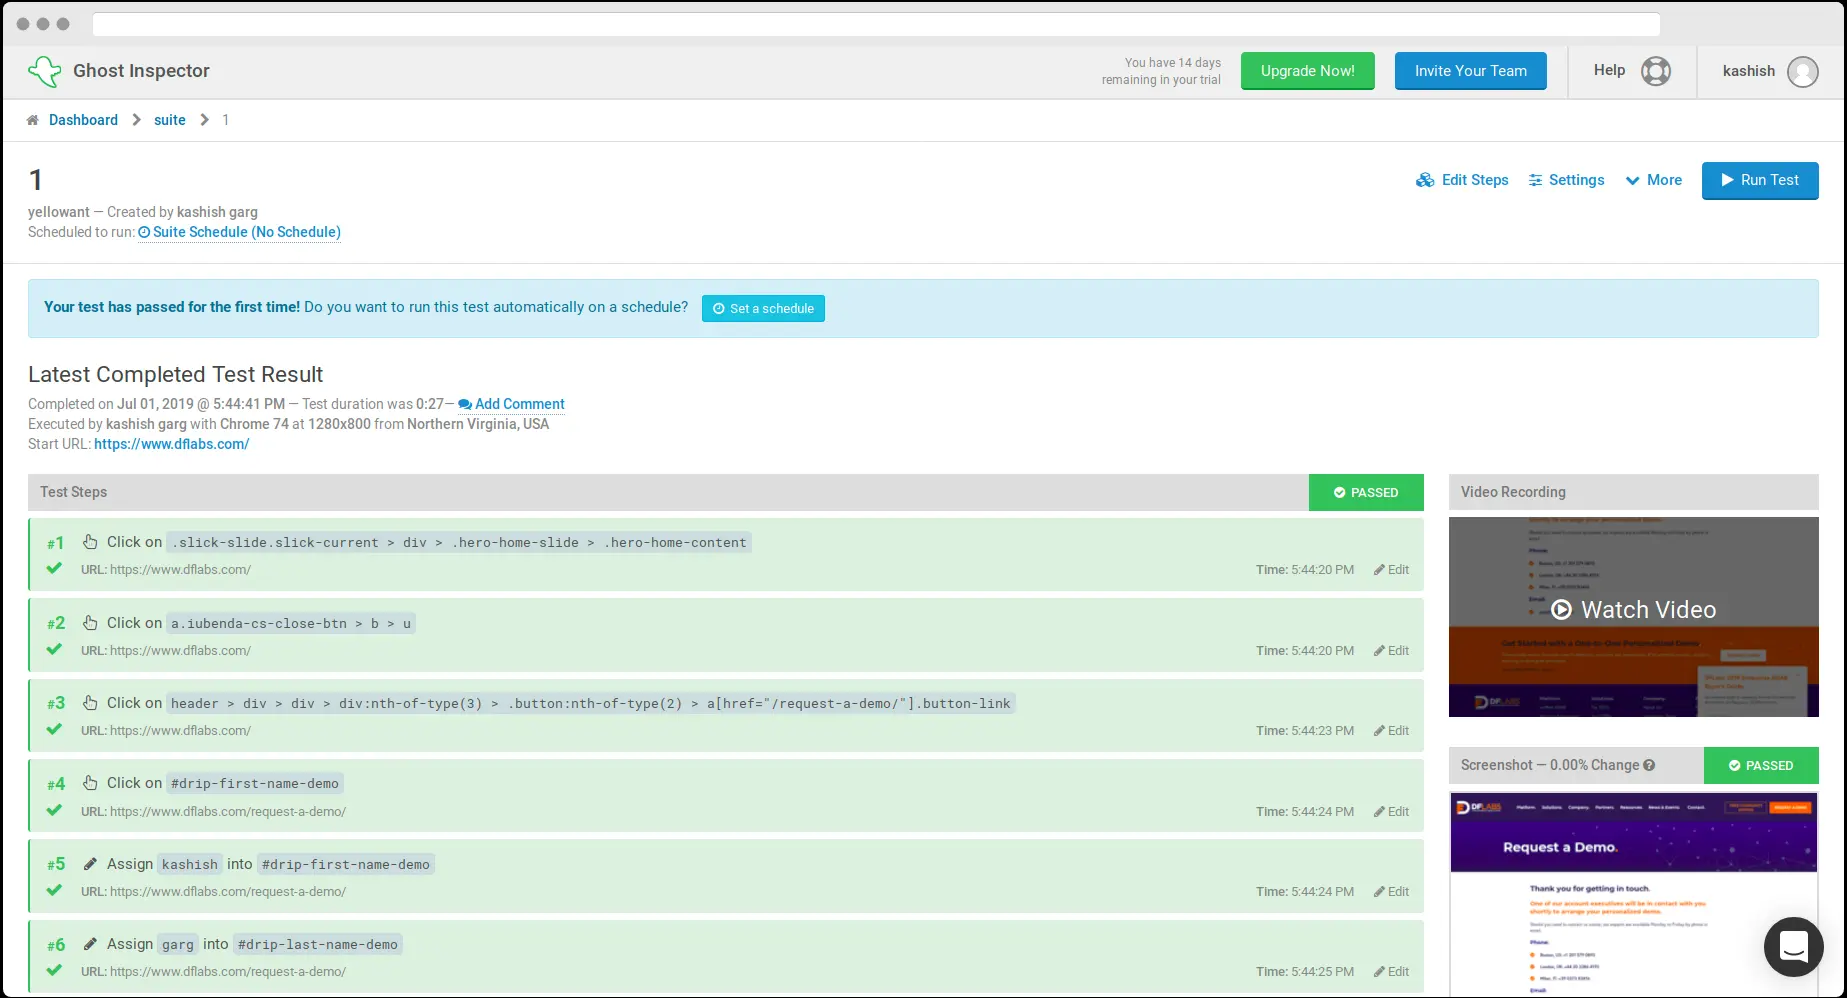
Incident management works best when all of your incidents and alerts can be tracked from a centralized hub. Ghost Inspector helps you build or record automated website tests in your browser and continuously monitor websites for issues.
The Zenduty-Ghost Inspector integration allows you to sync your Ghost Inspector tickets with Zenduty, and keep up with all the updates. The advanced monitoring allows you to keep a bird’s eye view on all the updates.
Scroll to the end of the page for complete instructions to set up the integration. Read more on Zenduty Docs
Actions:
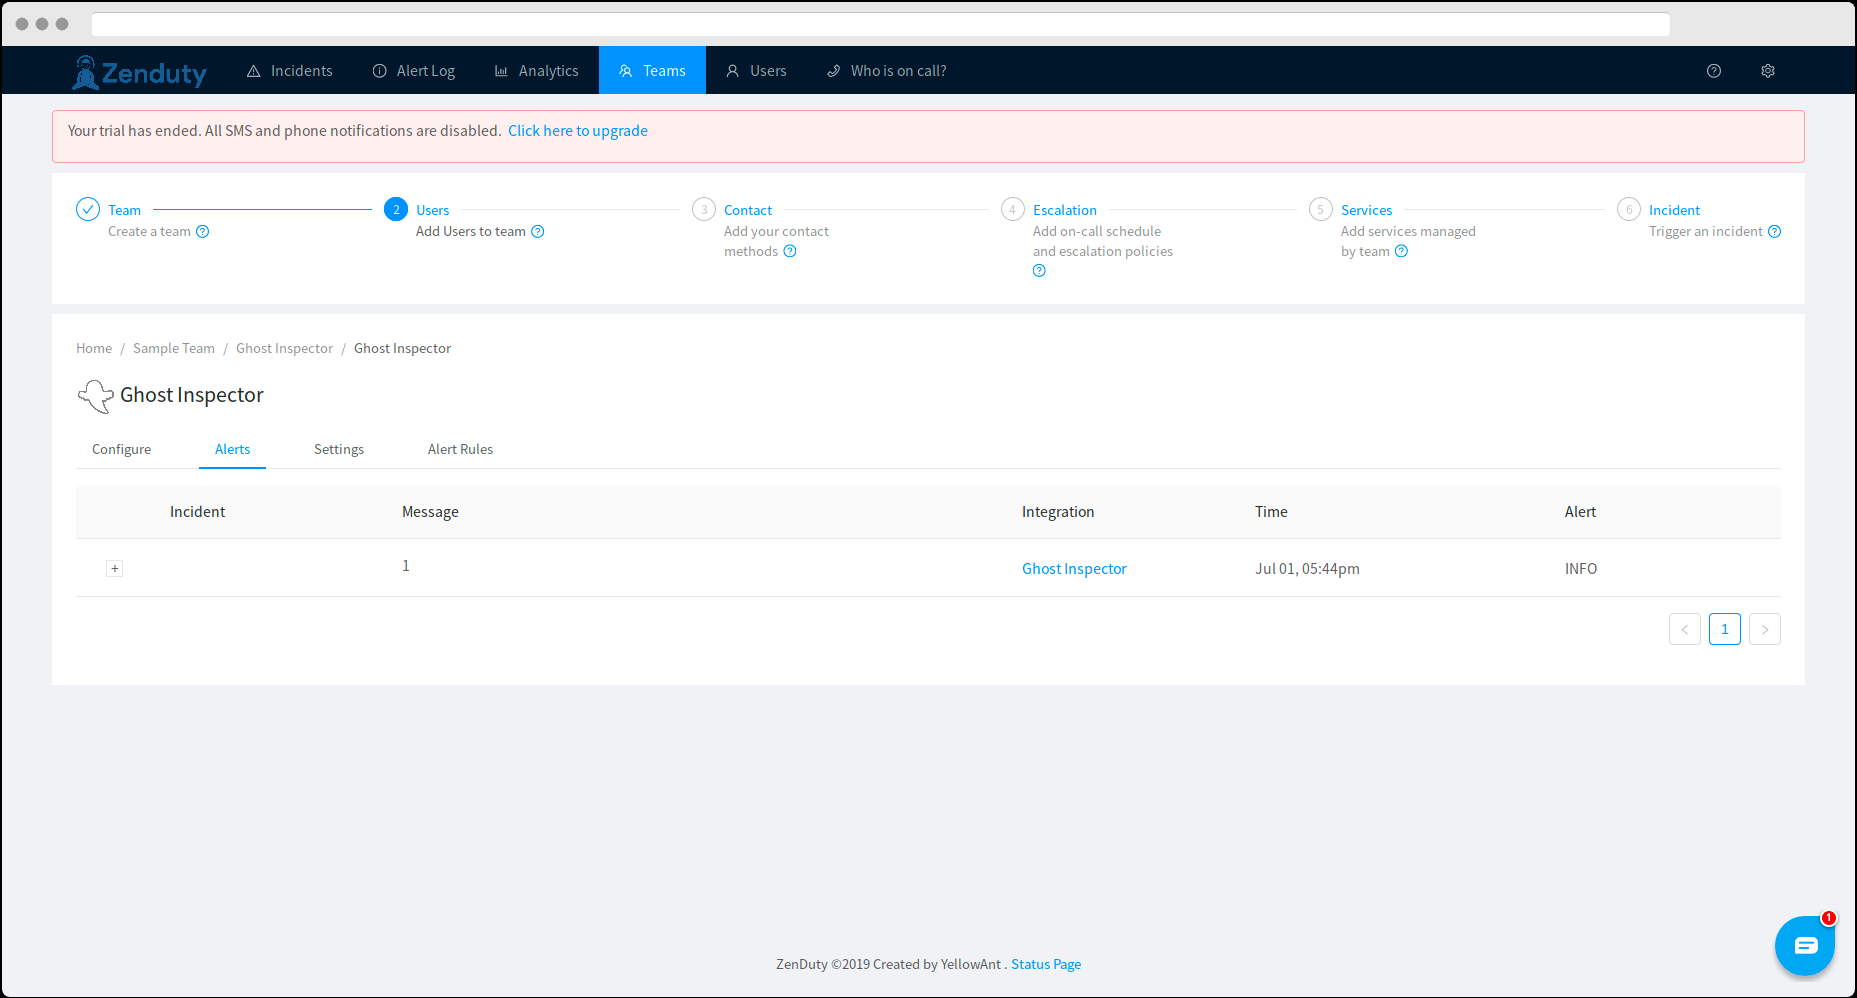
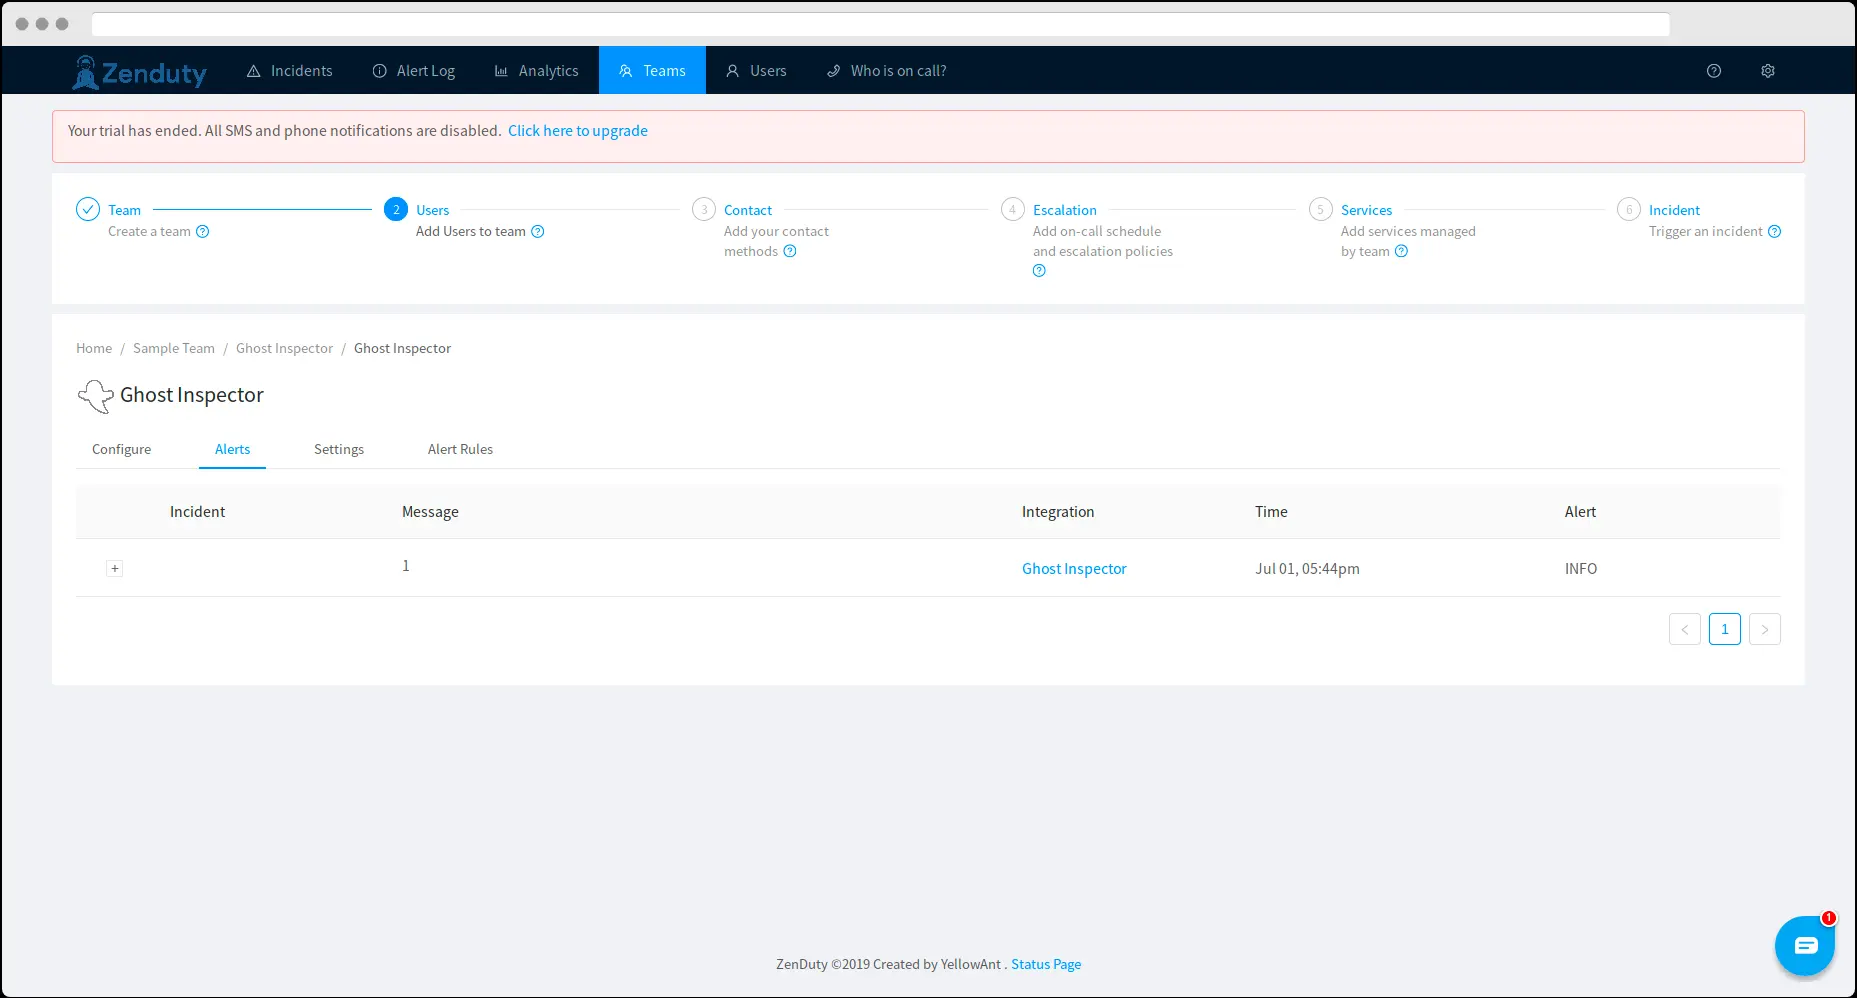
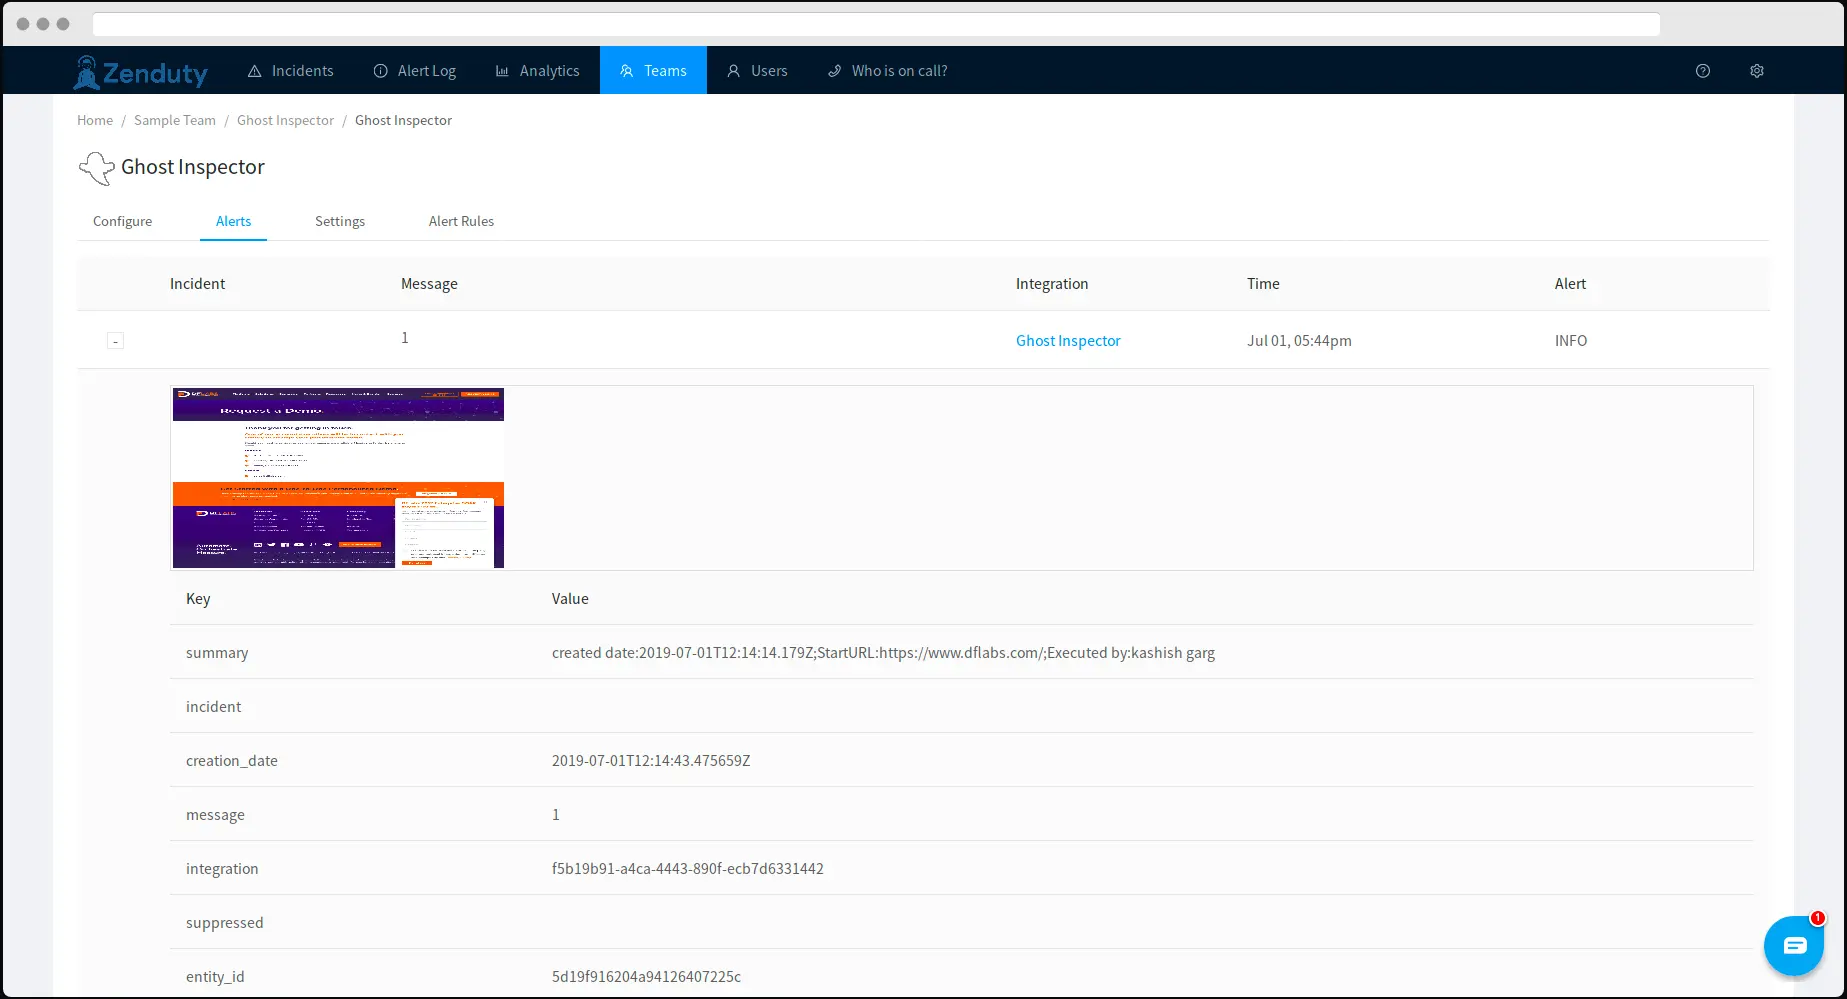
Once set up, users in Zenduty will get their incidents from their errors in Ghost Inspector. Any action on either application will reflect in the other.
| Ghost Inspector Action | Zenduty Response |
|---|---|
| New error generated | New incident created |
| Changes made to the error | Note added to the incident |
| Error resolved | Incident resolved |
A New error in Ghost Inspector creates a Zenduty Ticket
Resolution of a Ghost Inspector Error resolves the Zenduty Inciden
Steps to Integrate:
In Zenduty
- To add a new Ghost Inspector integration, go to “Teams” on Zenduty and click on the “Manage” button corresponding to the team you want to add the integration to.
- Next, go to “Services” and click on the “Manage” button correspoding to the relevant Service.
- Go to “Integrations” and then “Add New Integration”. Give it a name and select the application “Ghost Inspector” from the dropdown menu.
- Go to “Configure” under your integrations and copy the webhooks URL generated.
In Ghost Inspector:
- Log into Ghost Inspector.
- Now create a “Test”.
- Go to “Notification” -> “Webhook” and create a “Notifier”.
- Now in the URL field paste the copied link and click on “Add”.
- Then go to Settings -> Notification -> Email and then select “Condition” and create a “Condition”.
- Ghost Inspector is now integrated.

