Live Call Routing using Plivo
Live Call Routing empowers your organization to route incoming calls directly to on-call responders, ensuring the timely and efficient handling of incidents.
In Plivo:
- Create a Plivo account
- Go to the Plivo website. (Sign up for an account if you don't have one already)
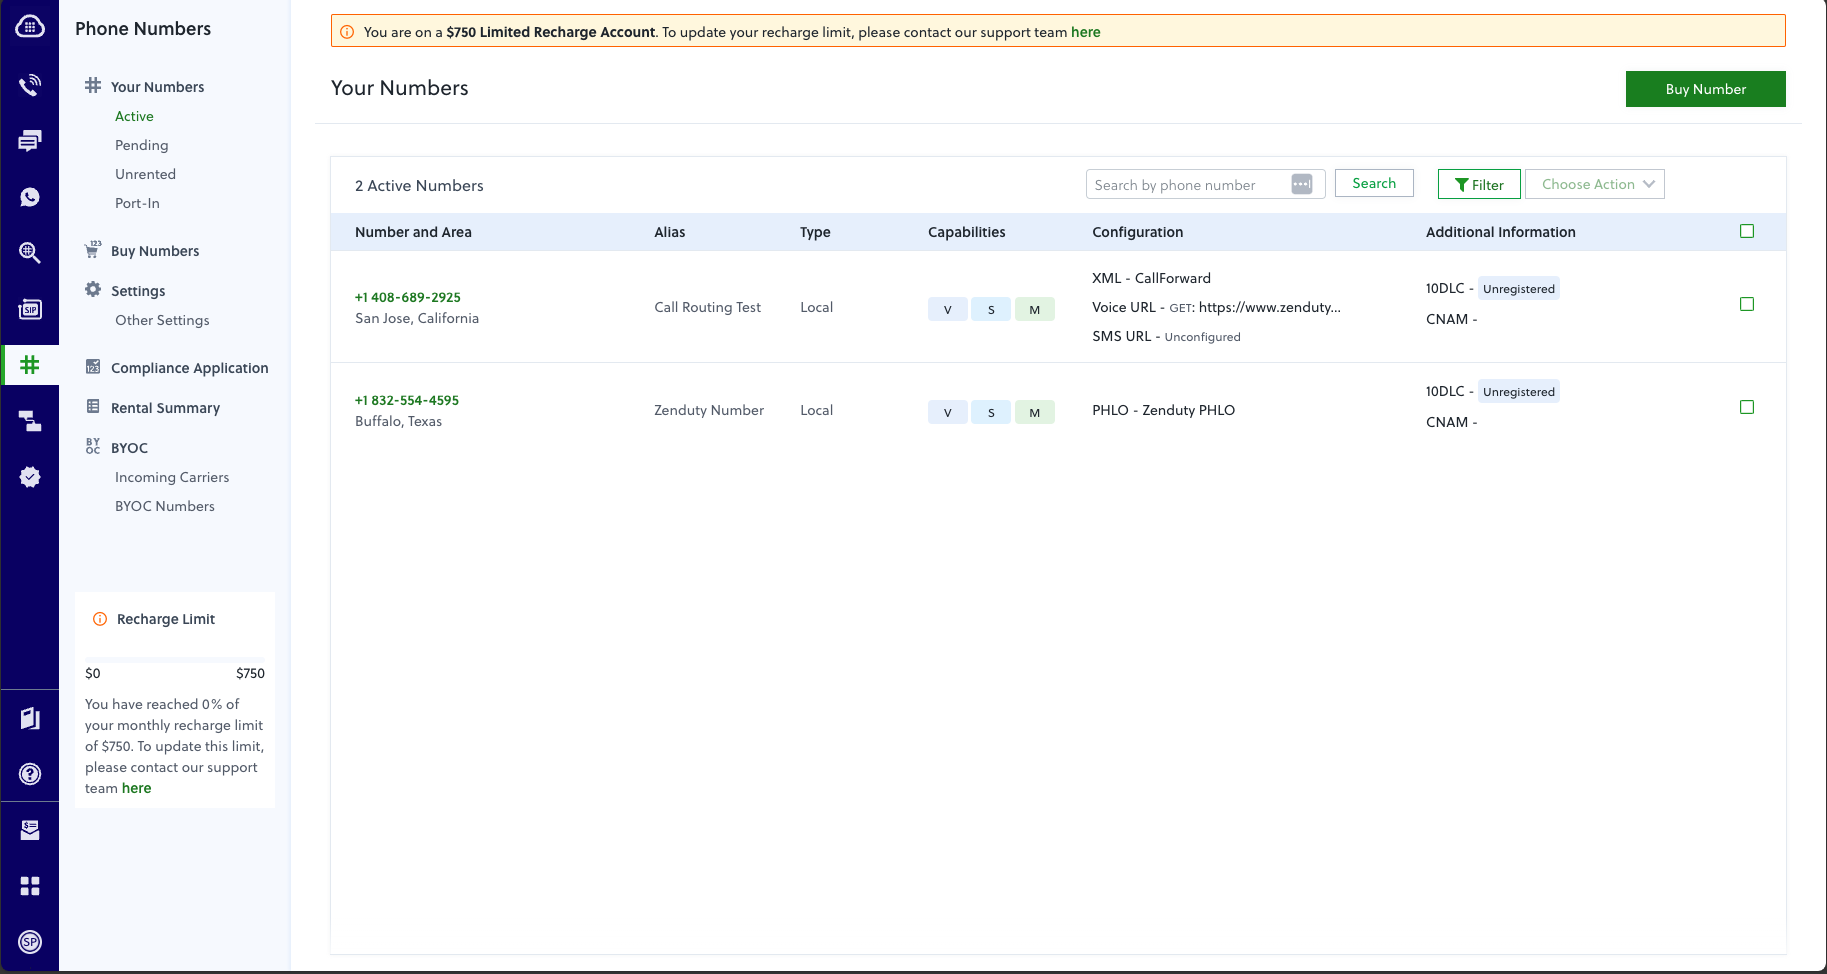
- Purchase a phone number.
- Once logged in, navigate to the phone numbers section.
- Purchase a phone number that you will use for call routing.
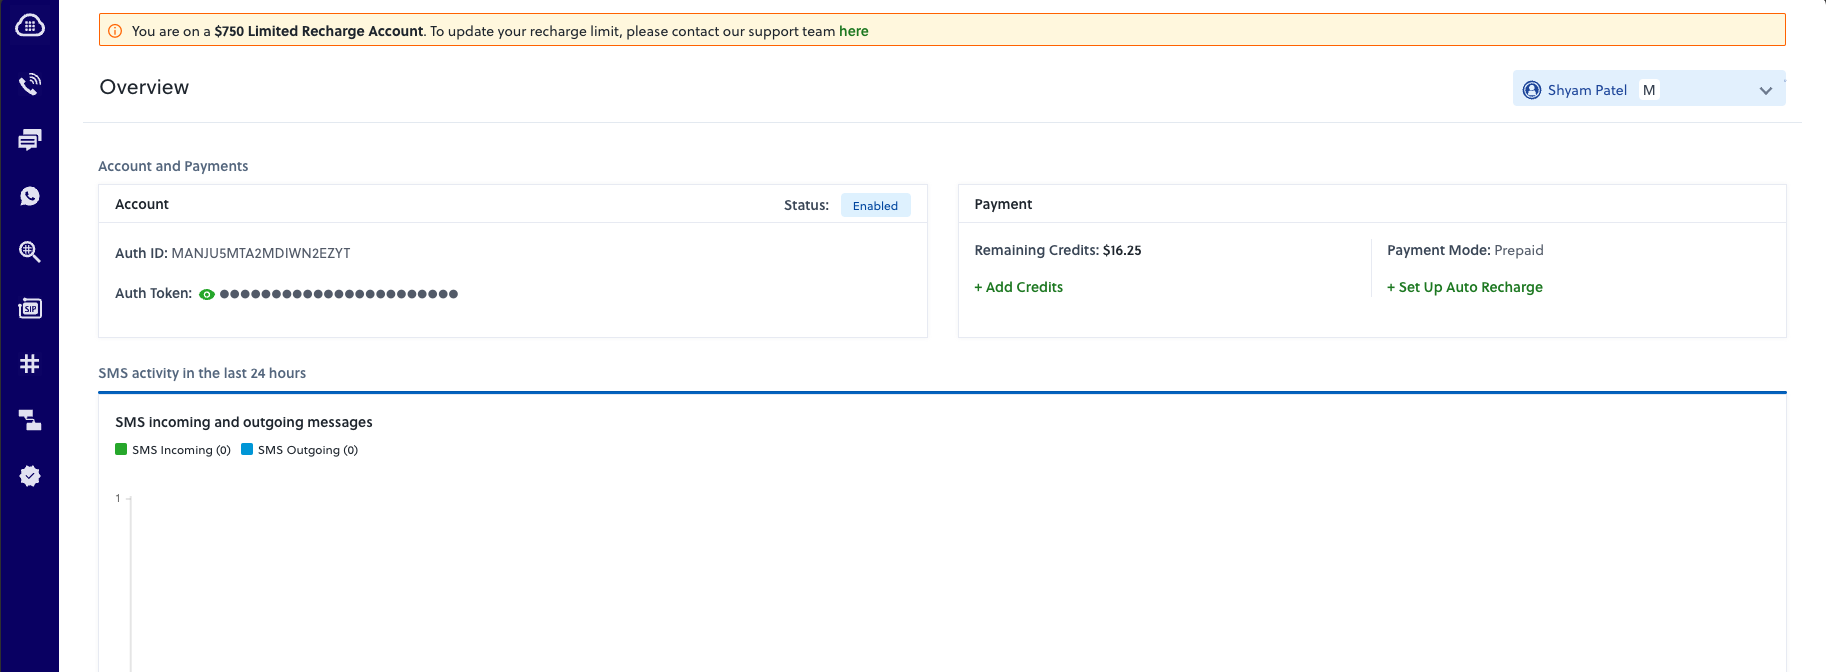
- Obtain Auth ID and Auth Token:
- In your Plivo dashboard, locate your Auth ID and Auth Token. These are typically found in your account settings or on the dashboard homepage.
- Copy the Auth ID and Auth Token.
In Zenduty:
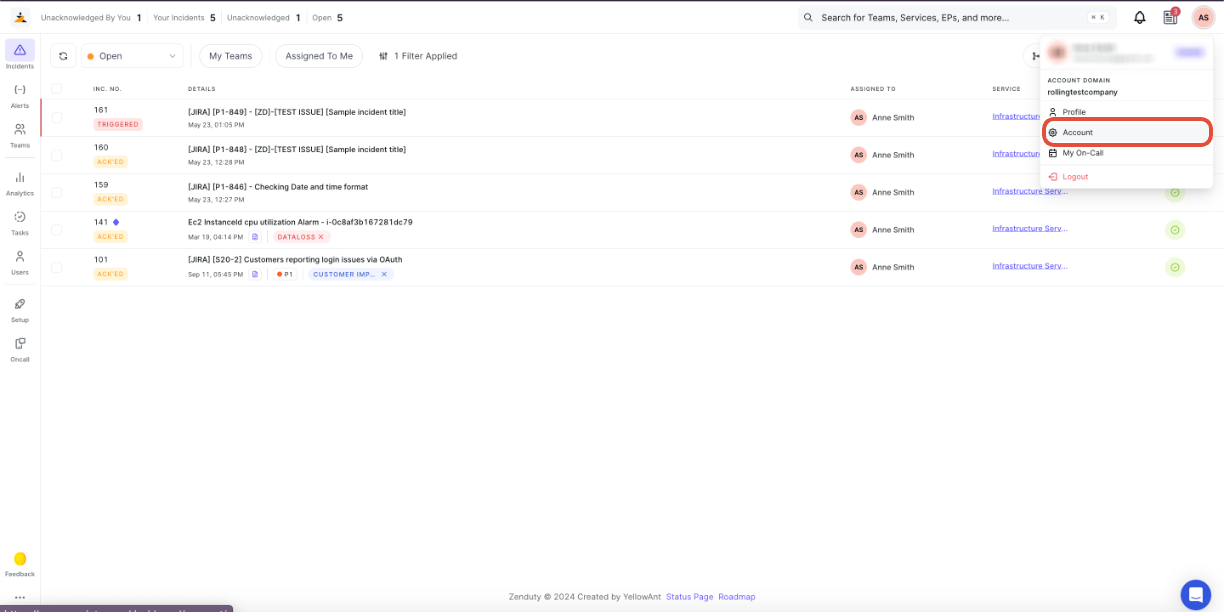
- Log in to your Zenduty account as an Admin/Owner.
- Navigate to the 'Accounts' section.
- Go to 'Call Routing' under the 'Connections' tab.
- To configure call routing, paste the copied Plivo Auth ID and Auth Token into the respective fields in your Zenduty call routing configuration.
- Enter the purchased phone number.
- Select the services you wish to include (maximum of 10 services).
- Set the timeout duration in seconds (e.g., 30 seconds).
- Choose the condition under which an incident is created (e.g., "no answer", "always", "never").
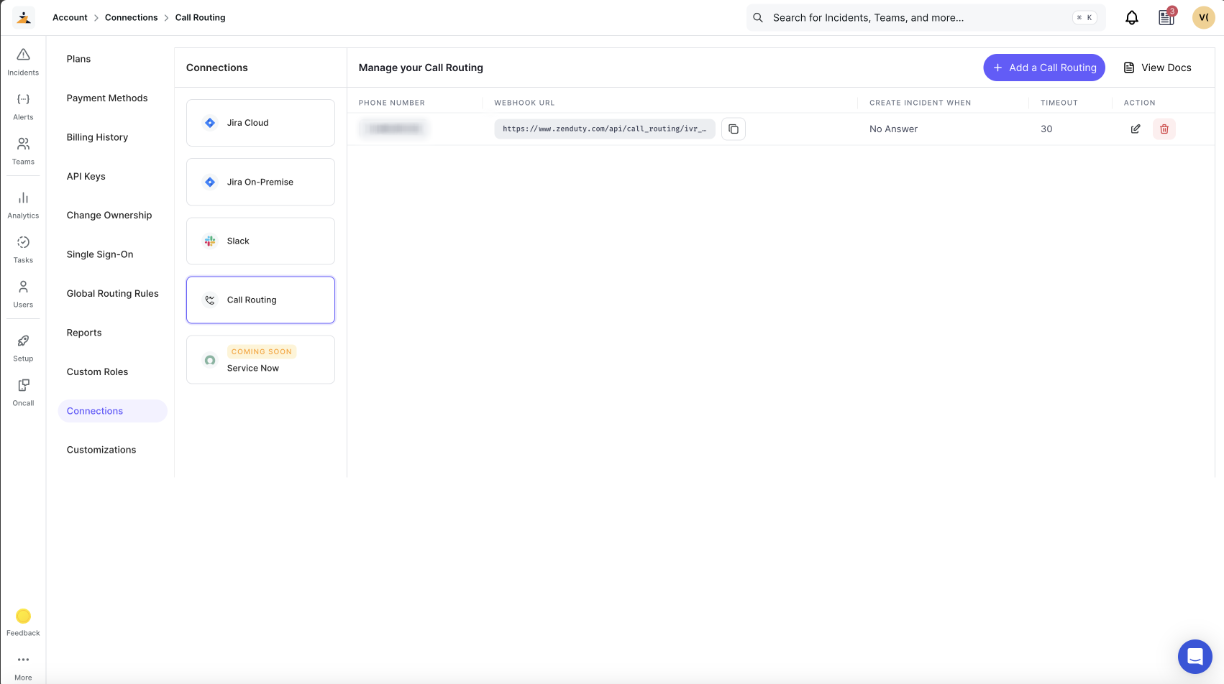

- Save your Settings.
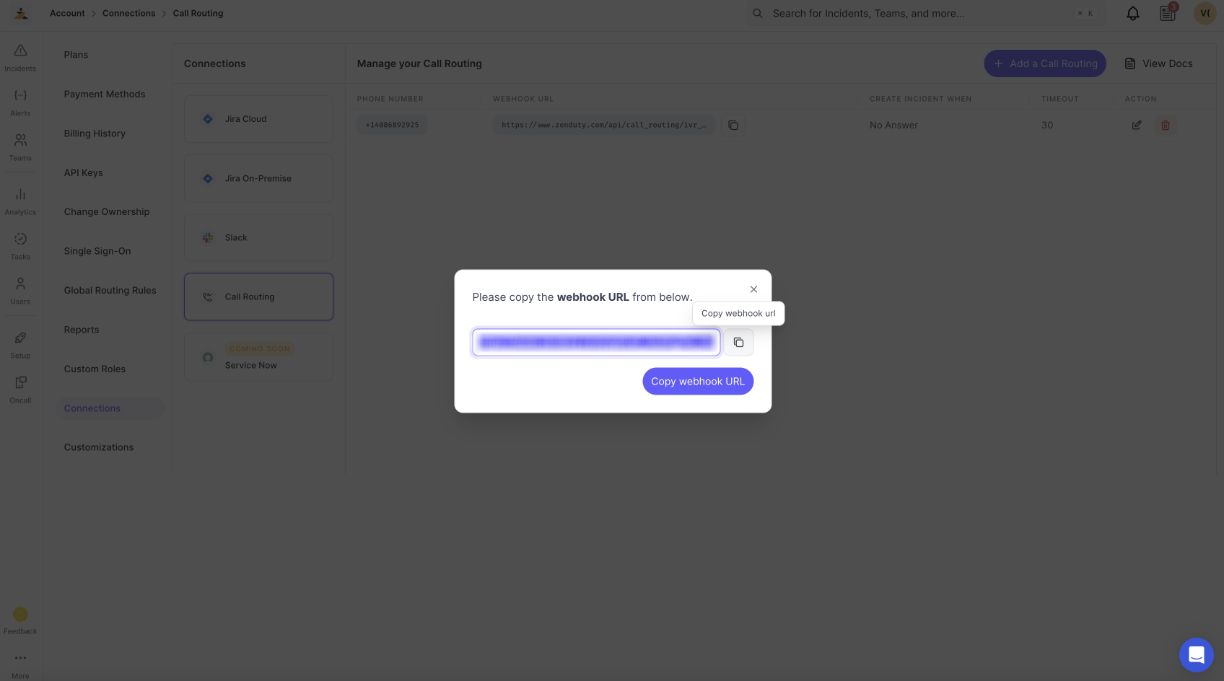
Note: After saving your configuration, a webhook URL will be displayed. Please keep it safe for future use.
In Plivo:
- In your Plivo dashboard, navigate to the voice settings from the sidebar menu.
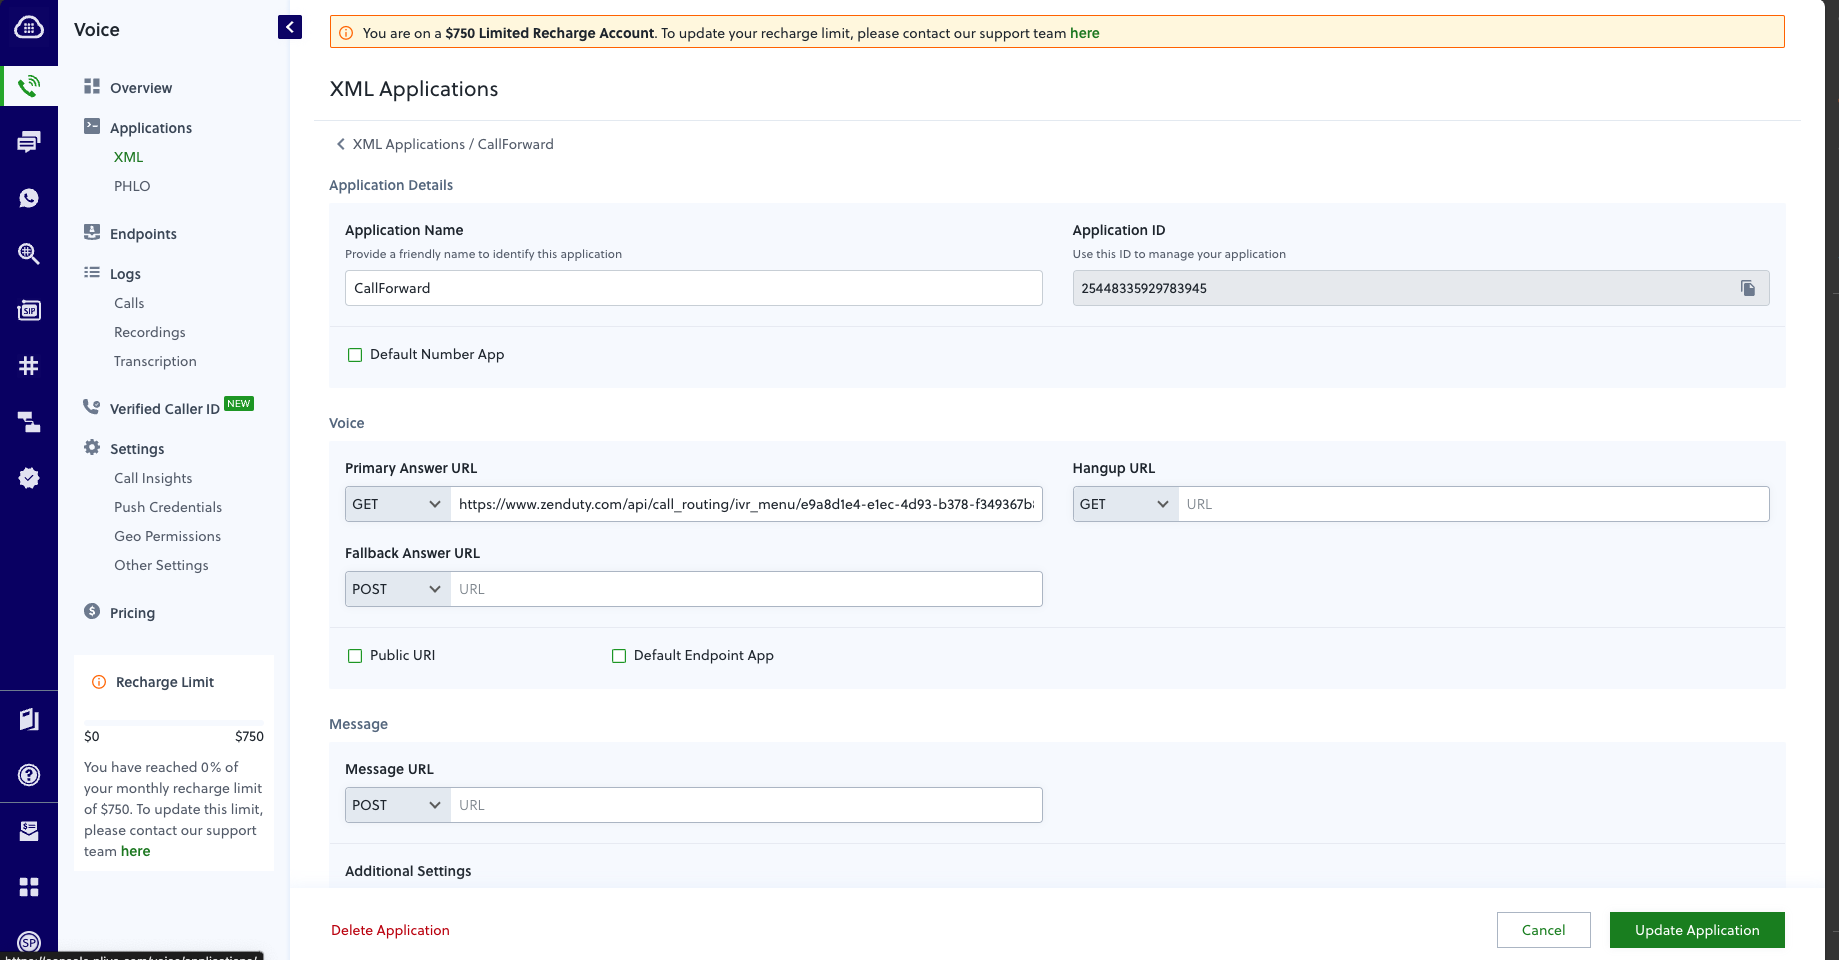
- In another sidebar panel, select Applications -> XML Application and Add a new application.
- Fill in all the required details.
- Set the primary answer URL to the webhook URL you saved in the previous step.
- Select the method as 'GET' and save the application.
- Click on 'Update Application' to save the setting
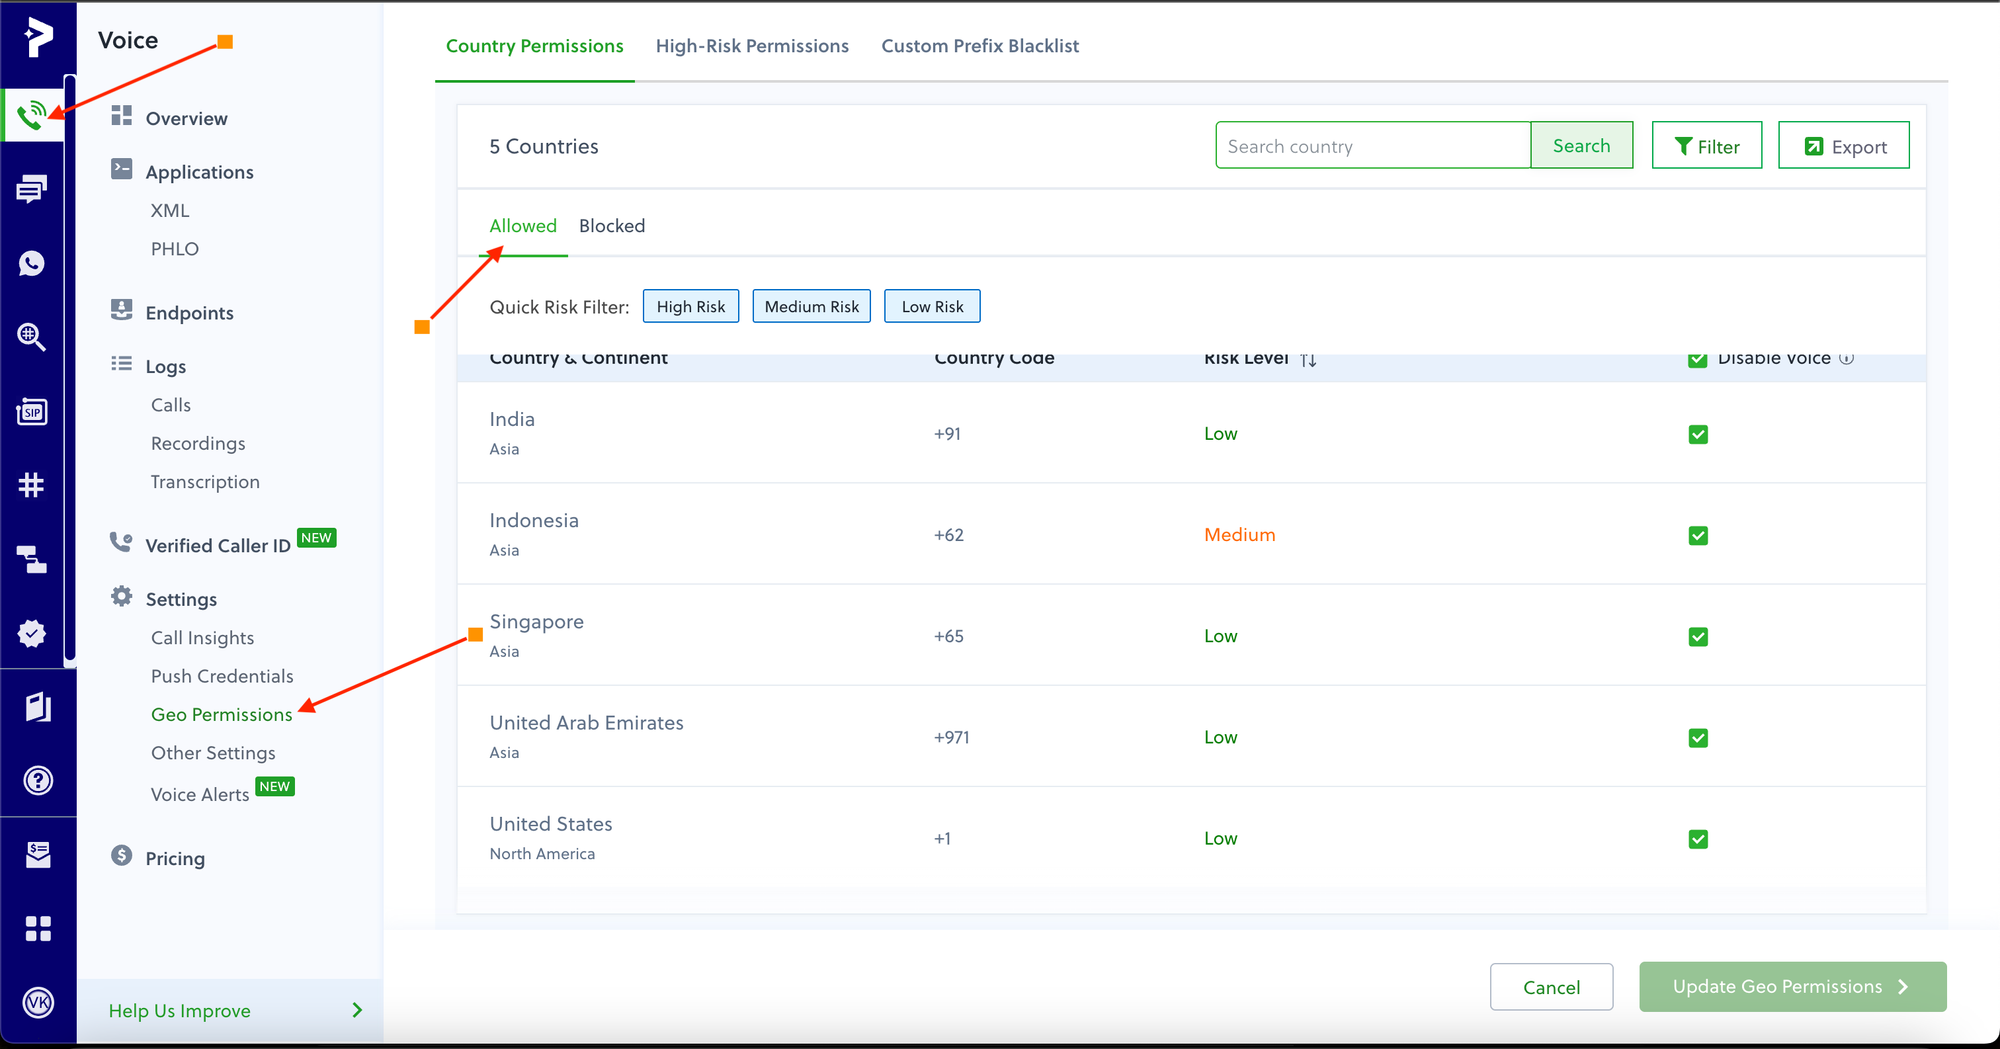
- Navigate to the Voice section from the left vertical panel.
- Click on Settings->Geo permissions
- Make sure that the countries of the users where the calls will be routed are in the Allowed section
Once these steps are completed, calls will be routed to the on-call users based on the service configuration, and incidents will be created based on your chosen conditions if no one answers the call.