Set up Okta as your SAML Identity Provider with SCIM
Here's a walk-through of setting up Okta as your SAML Identity Provider. This allows your team to log into Zenduty without a new email / password combination.
-
Log in to Zenduty as an account owner. In another tab, Log into Okta as an administrator.
-
In Zenduty, click on your name in the top right corner, which will reveal a dropdown with your account's domain name. Copy your account domain name for later use.

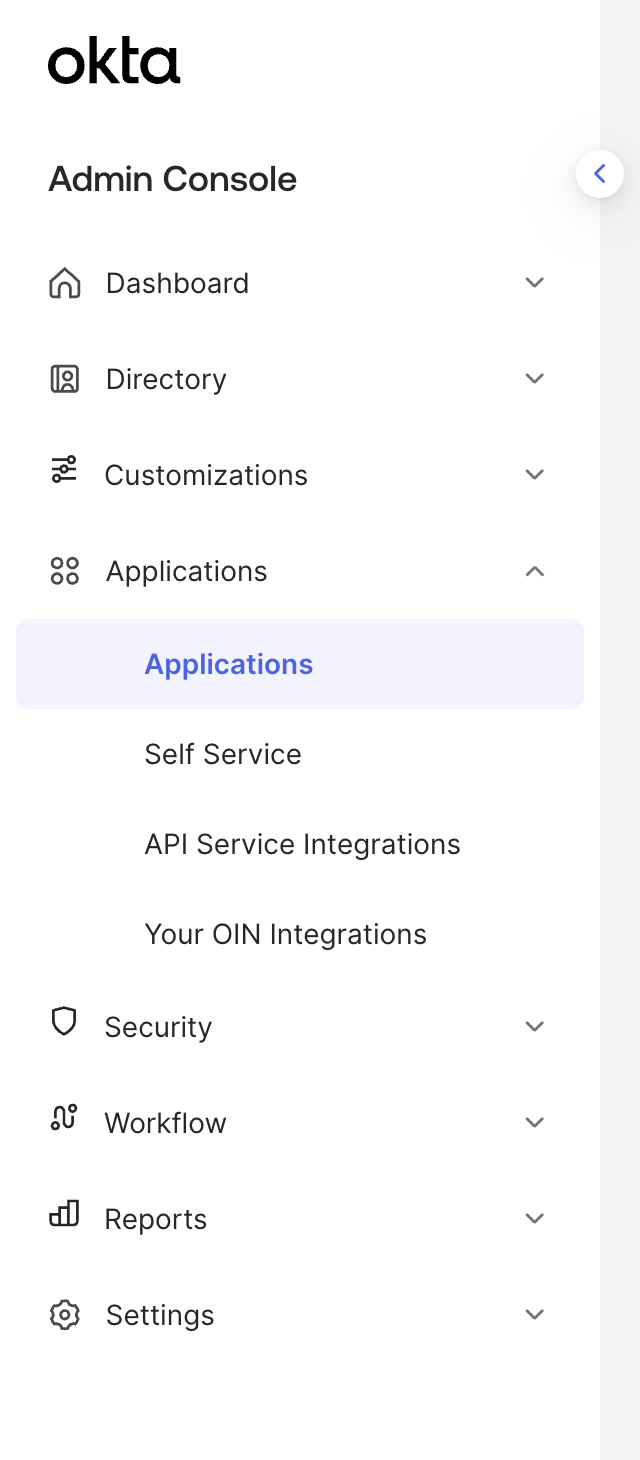
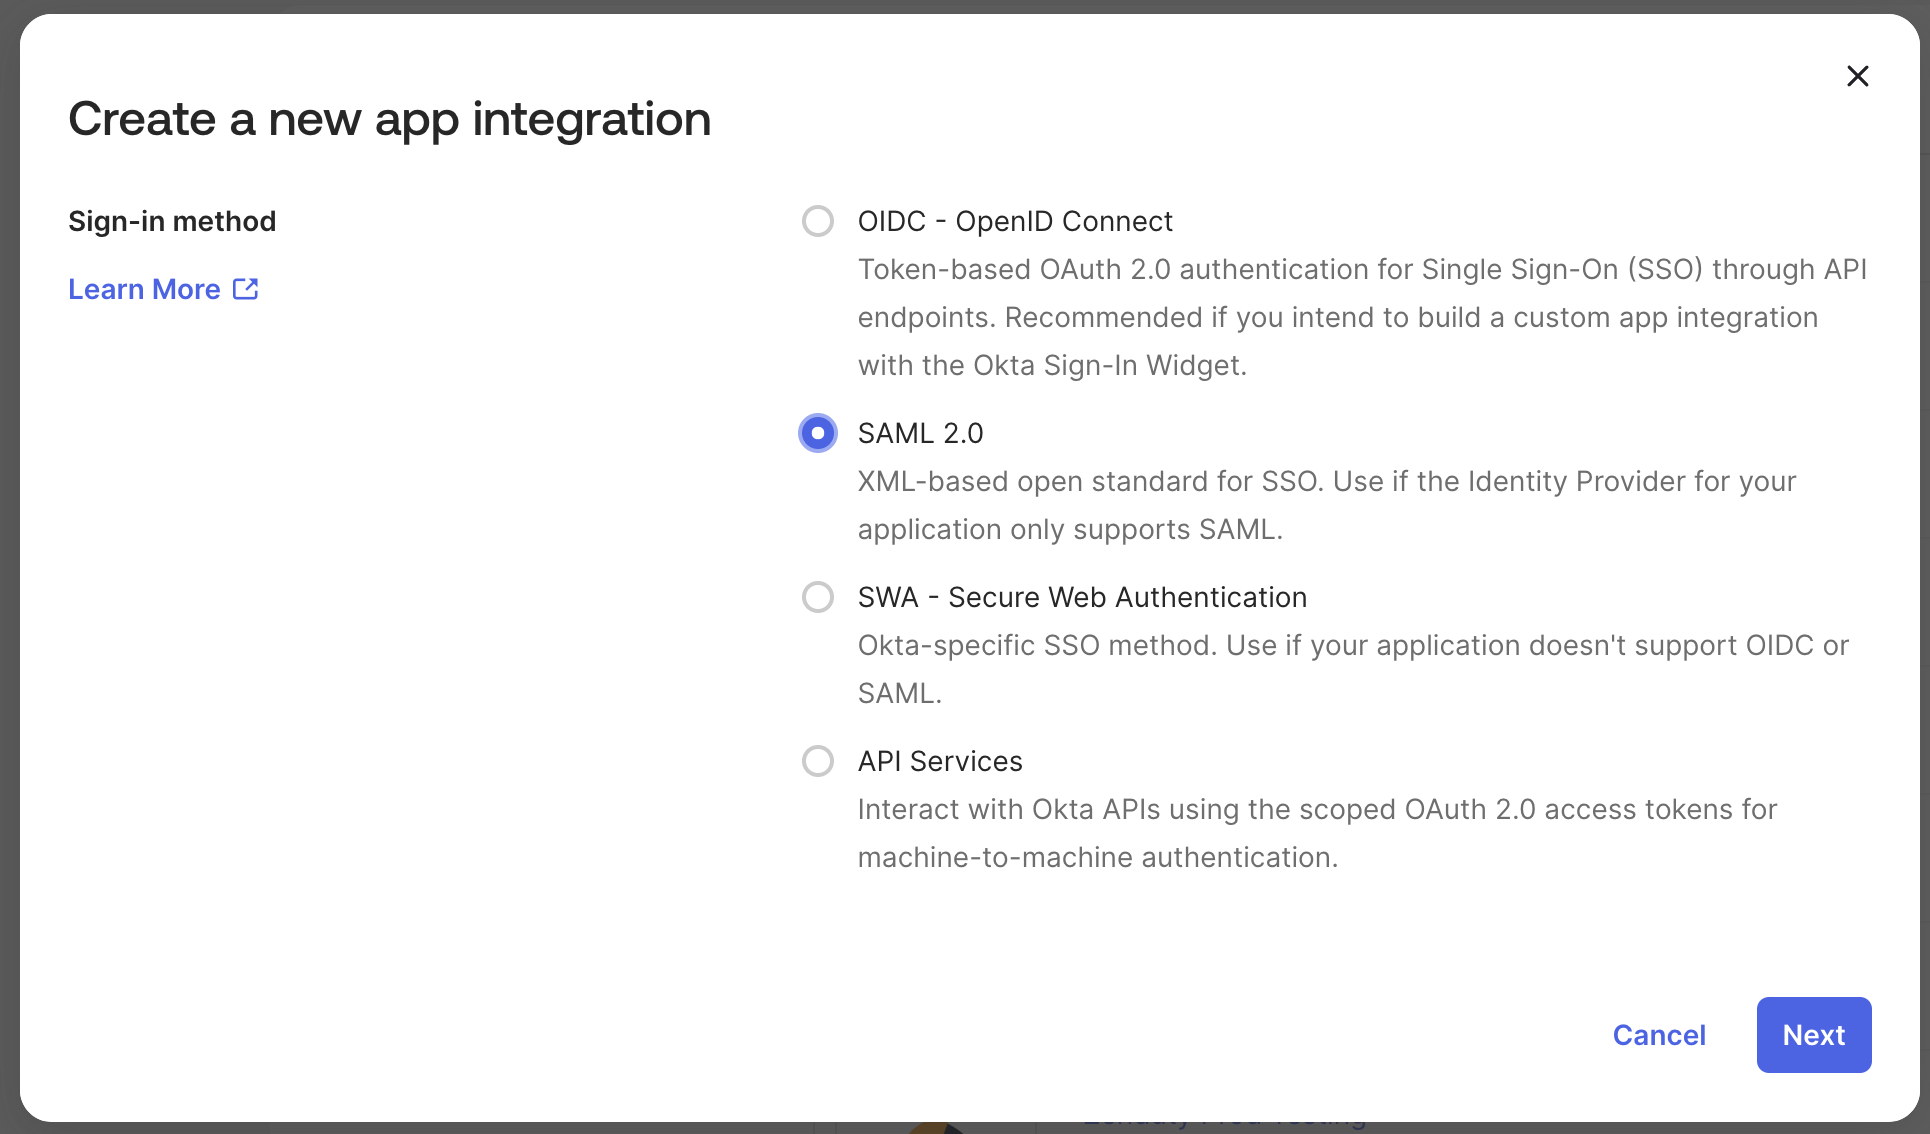
- Go to your Okta admin dashboard. Click on Applications. Click on Create App Integration and choose for SAML 2.0 and Click Next.

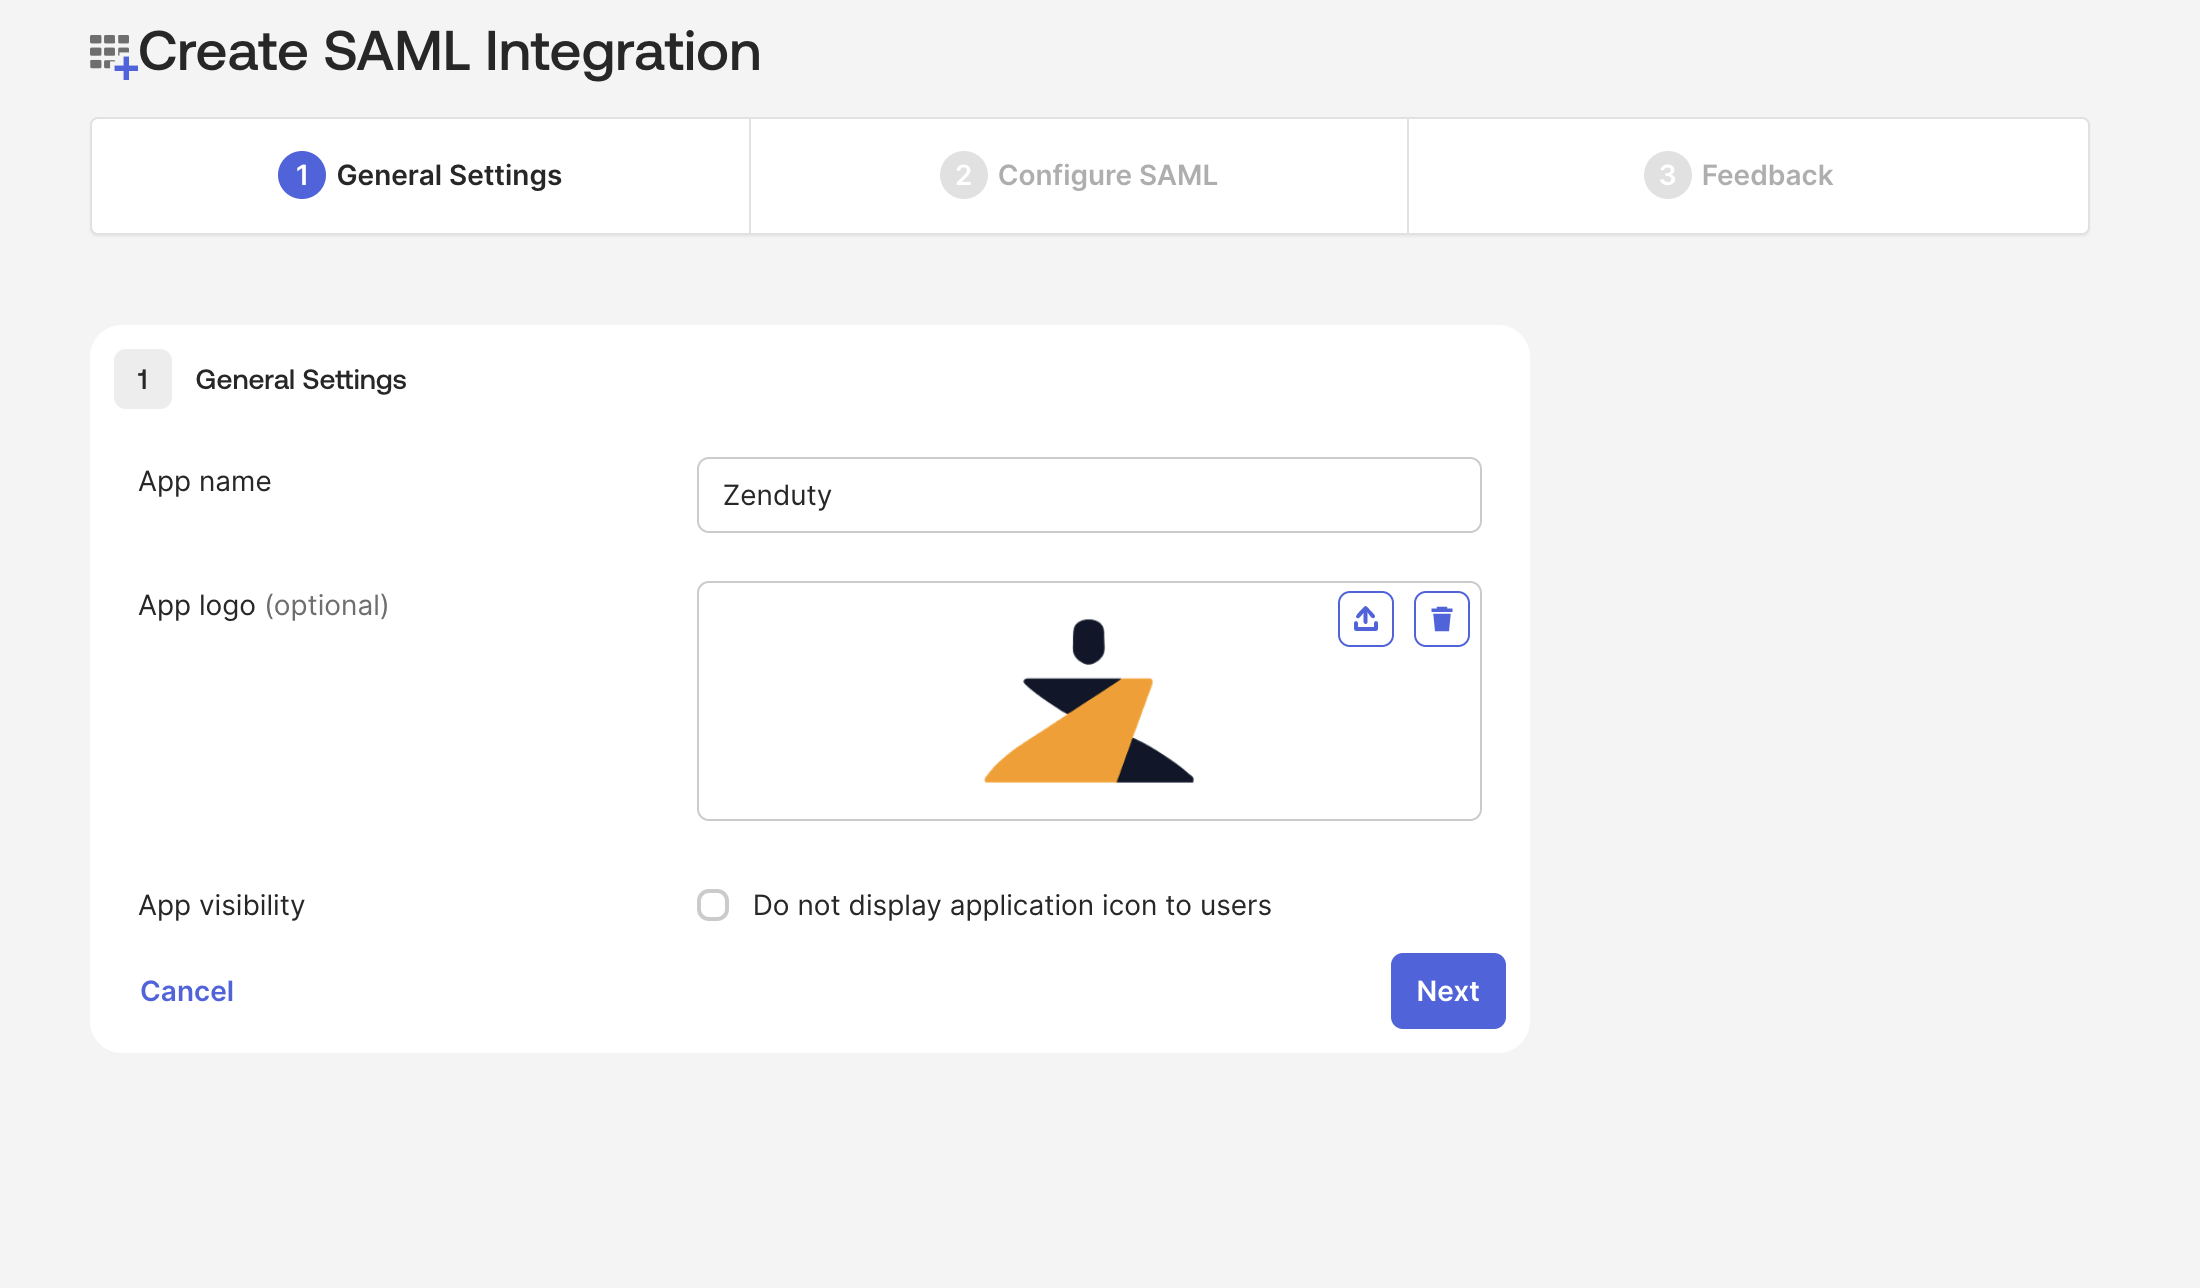
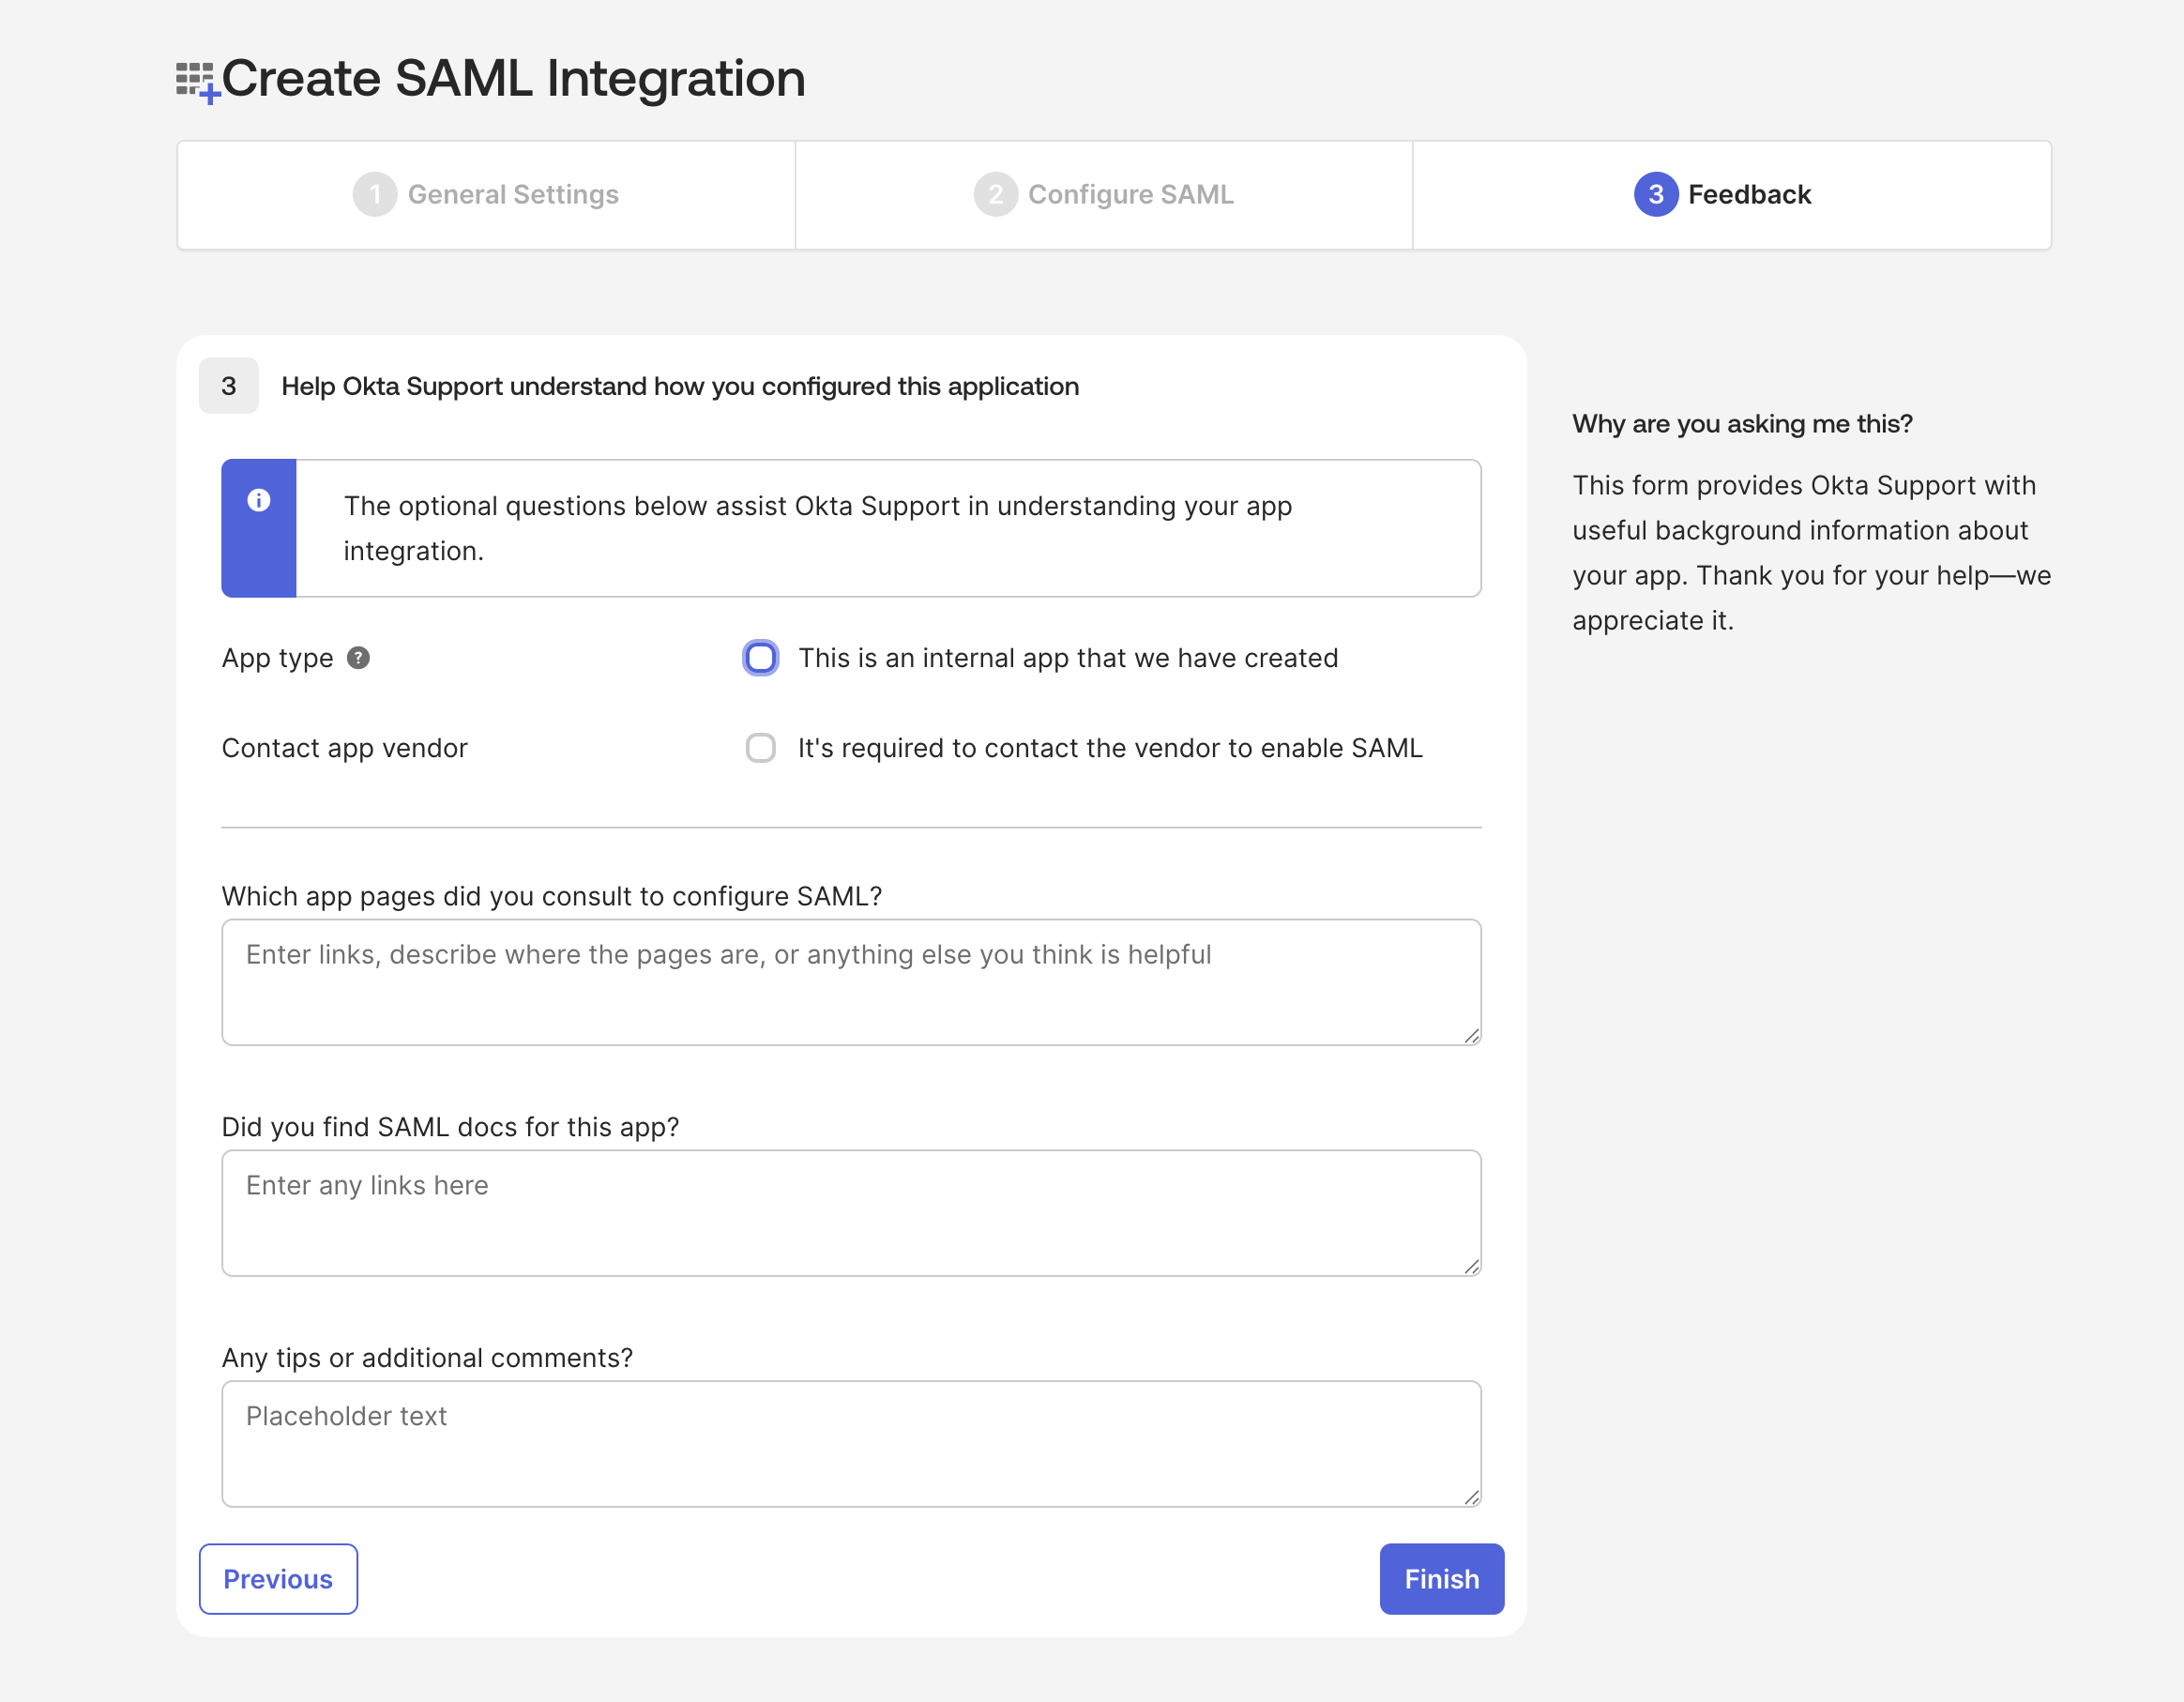
In General Settings Page. Provide application name and application logo for your new custom integration and click Next.
In Configure SAML Page Fill in the given details in
SAML Settings-> General:
- Single sign-on URL: https://www.zenduty.com/api/account/saml/acs/
- Audience URI (SP Entity ID): https://www.zenduty.com
- Default RelayState: {Paste your Zenduty account domain name that you copied earlier}
- Name ID format: EmailAddress
- Application username: Email
- Update application username on: Create and Update
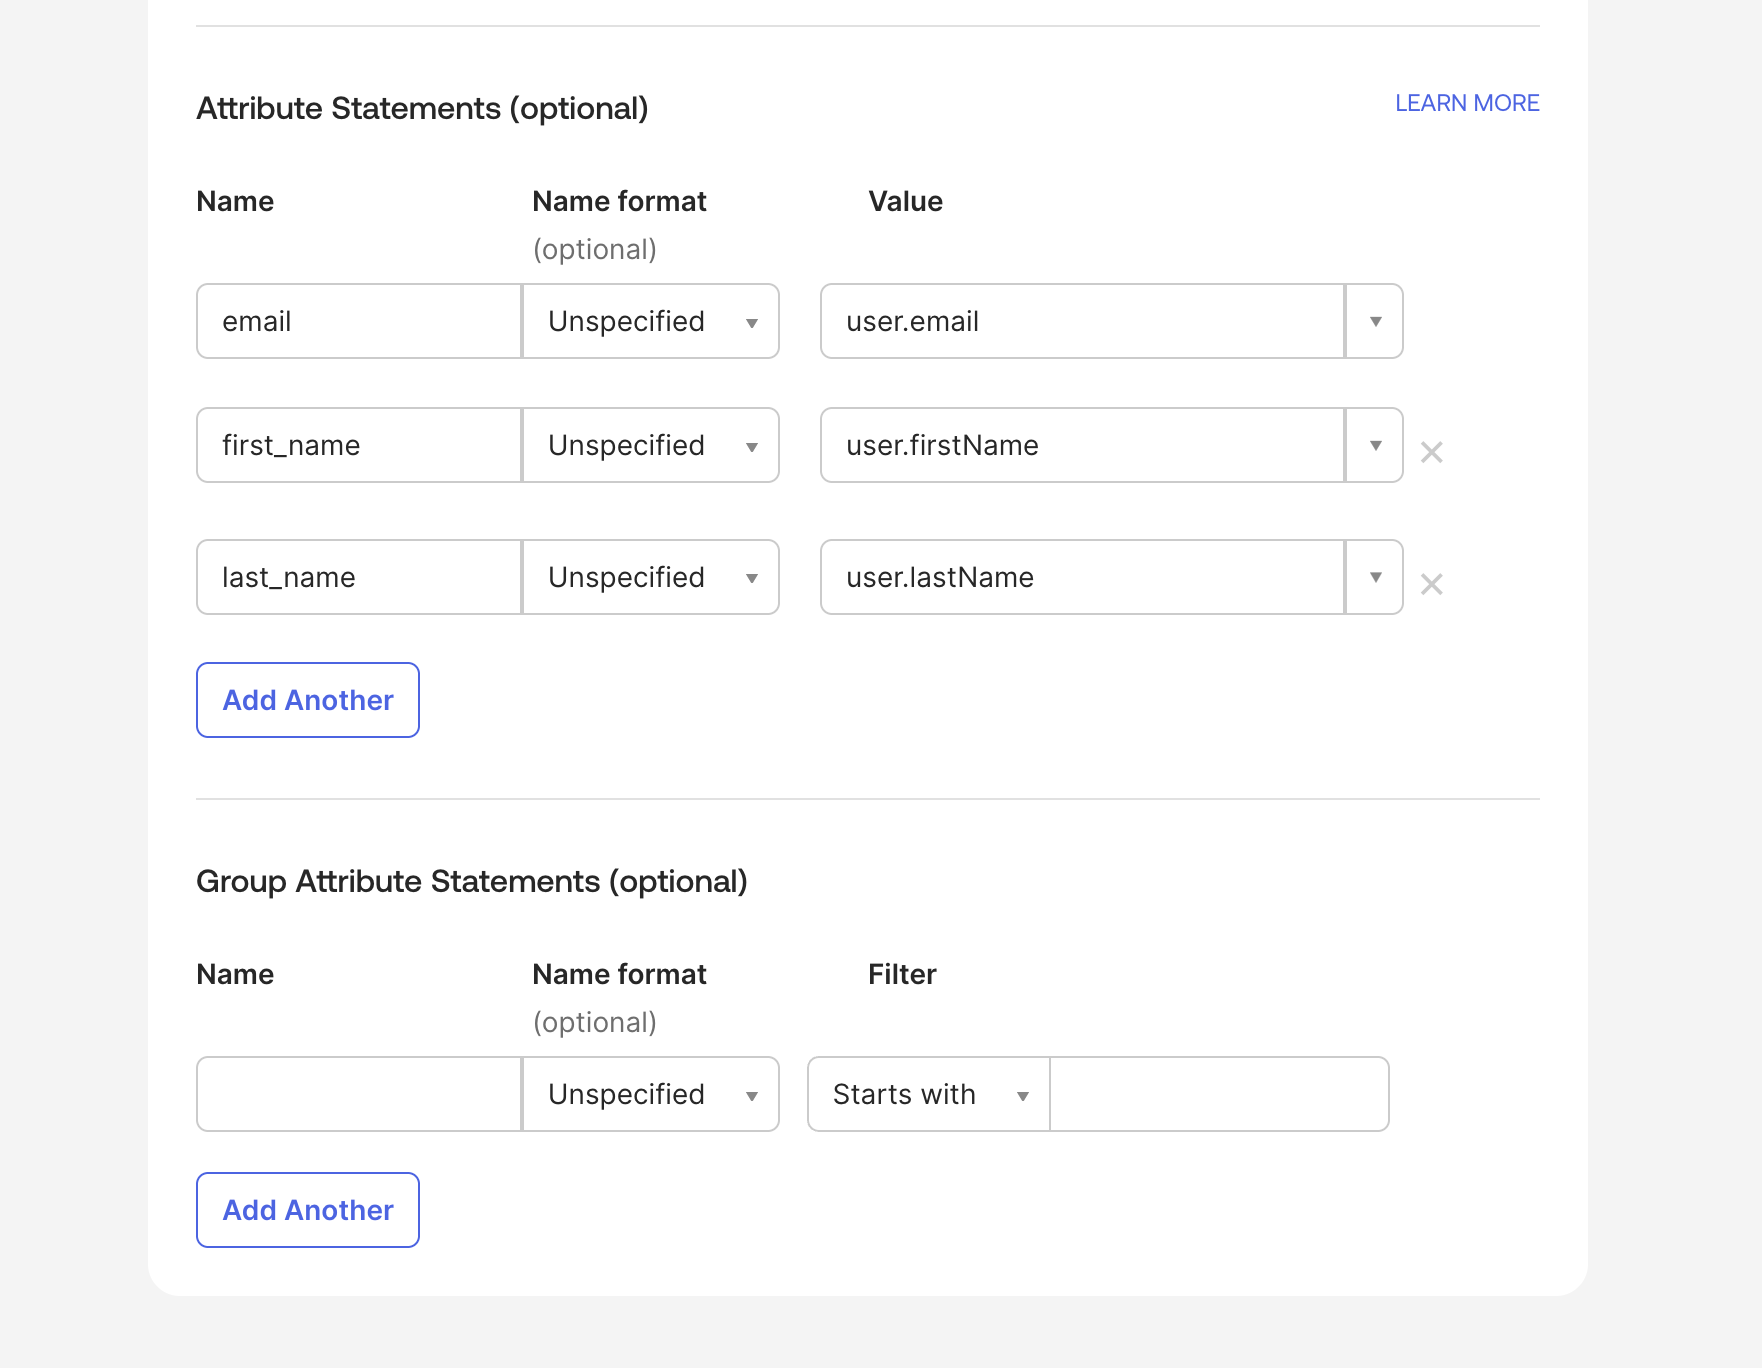
SAML Settings -> Attribute Statements (optional)
- email: user.email
- first_name: user.firstName
- last_name: user.lastName
then click Next

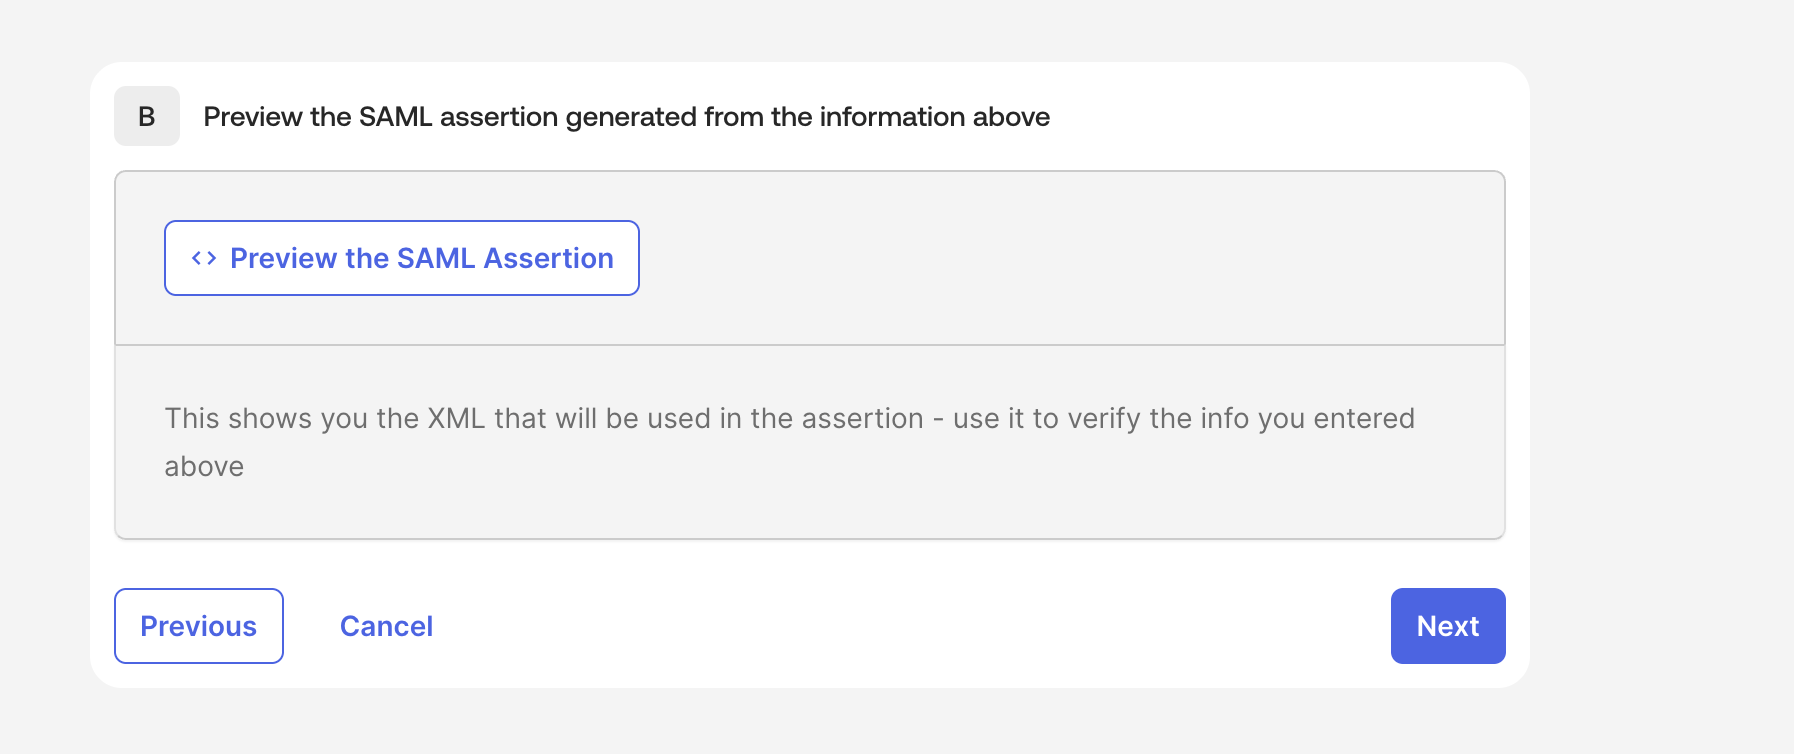
In Feedback Page. Click Finish
After finishing SAML Integration. Click on "Sign On" tab in your Okta custom Zenduty Application. Then click on "View SAML setup instructions"
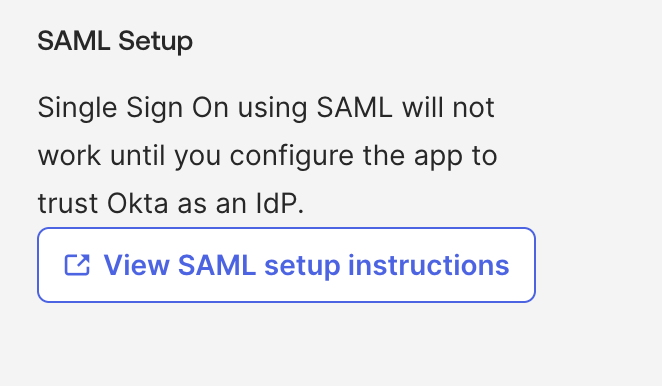
Copy the Single Sign-On URL, Identity Provider Issuer and X.509 Certificate and Save it in a safe place (It will be required in future during the setup at Zenduty's platform)

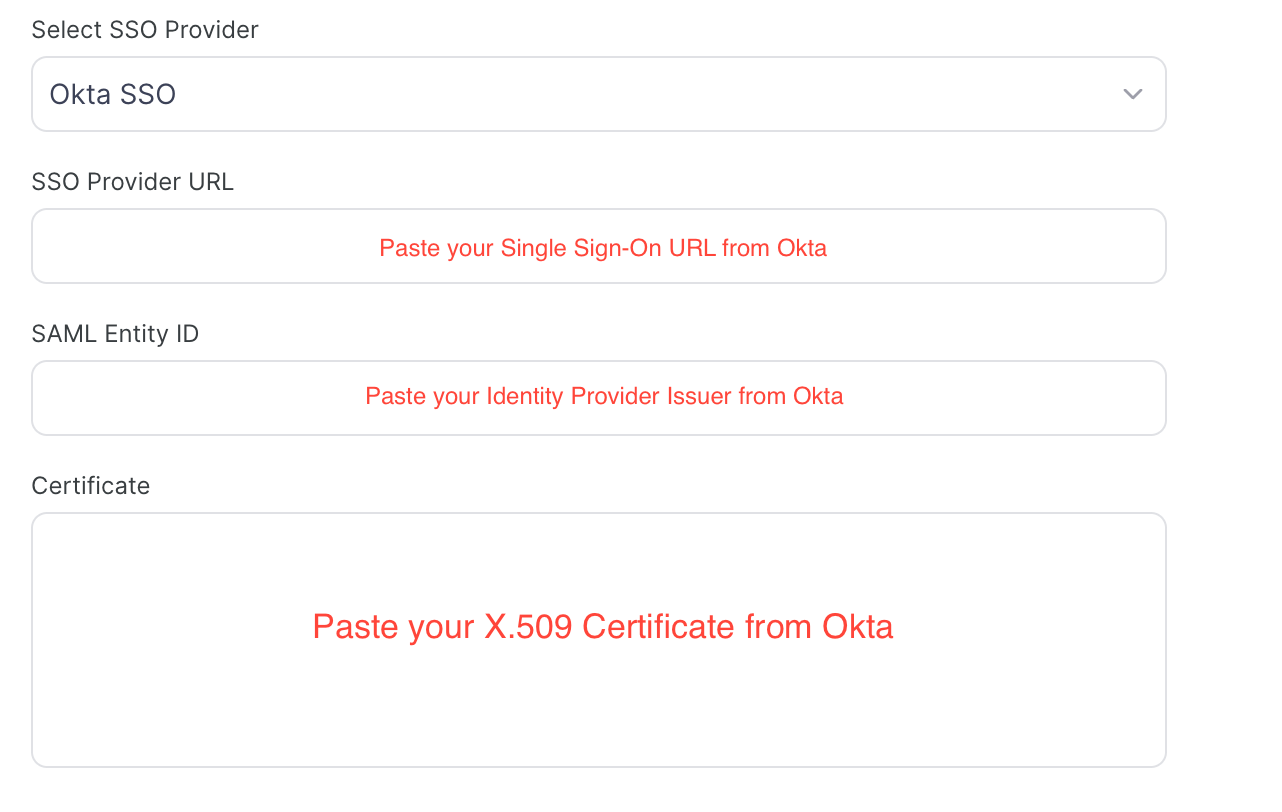
Go to Zenduty Dashboard > Account > Single Sign-On > Select "Okta SSO" as SSO provider and Paste your previously saved details from Okta's Platform.
(Ex: SSO Provider, SAML Entity ID, Certificate)
Your SSO setup is now done.
Then Click on General tab. edit App Settings. choose SCIM as Provisioning. then Click Save
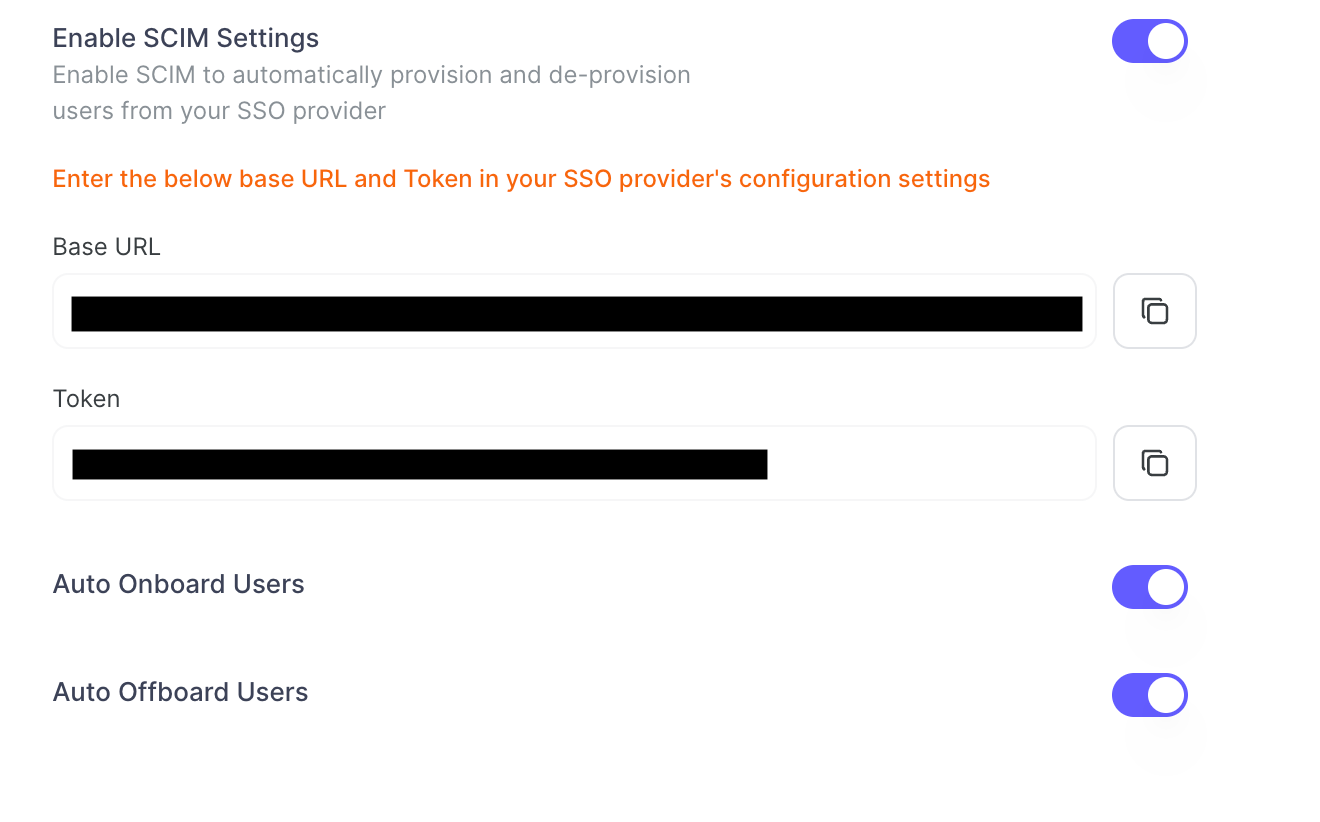
Enable SCIM Settings in Zenduty
- Toggle the Enable SCIM Settings to activate user provisioning.

- Copy the Base URL and Token provided. Save them securely — you’ll need these for OKTA configuration.
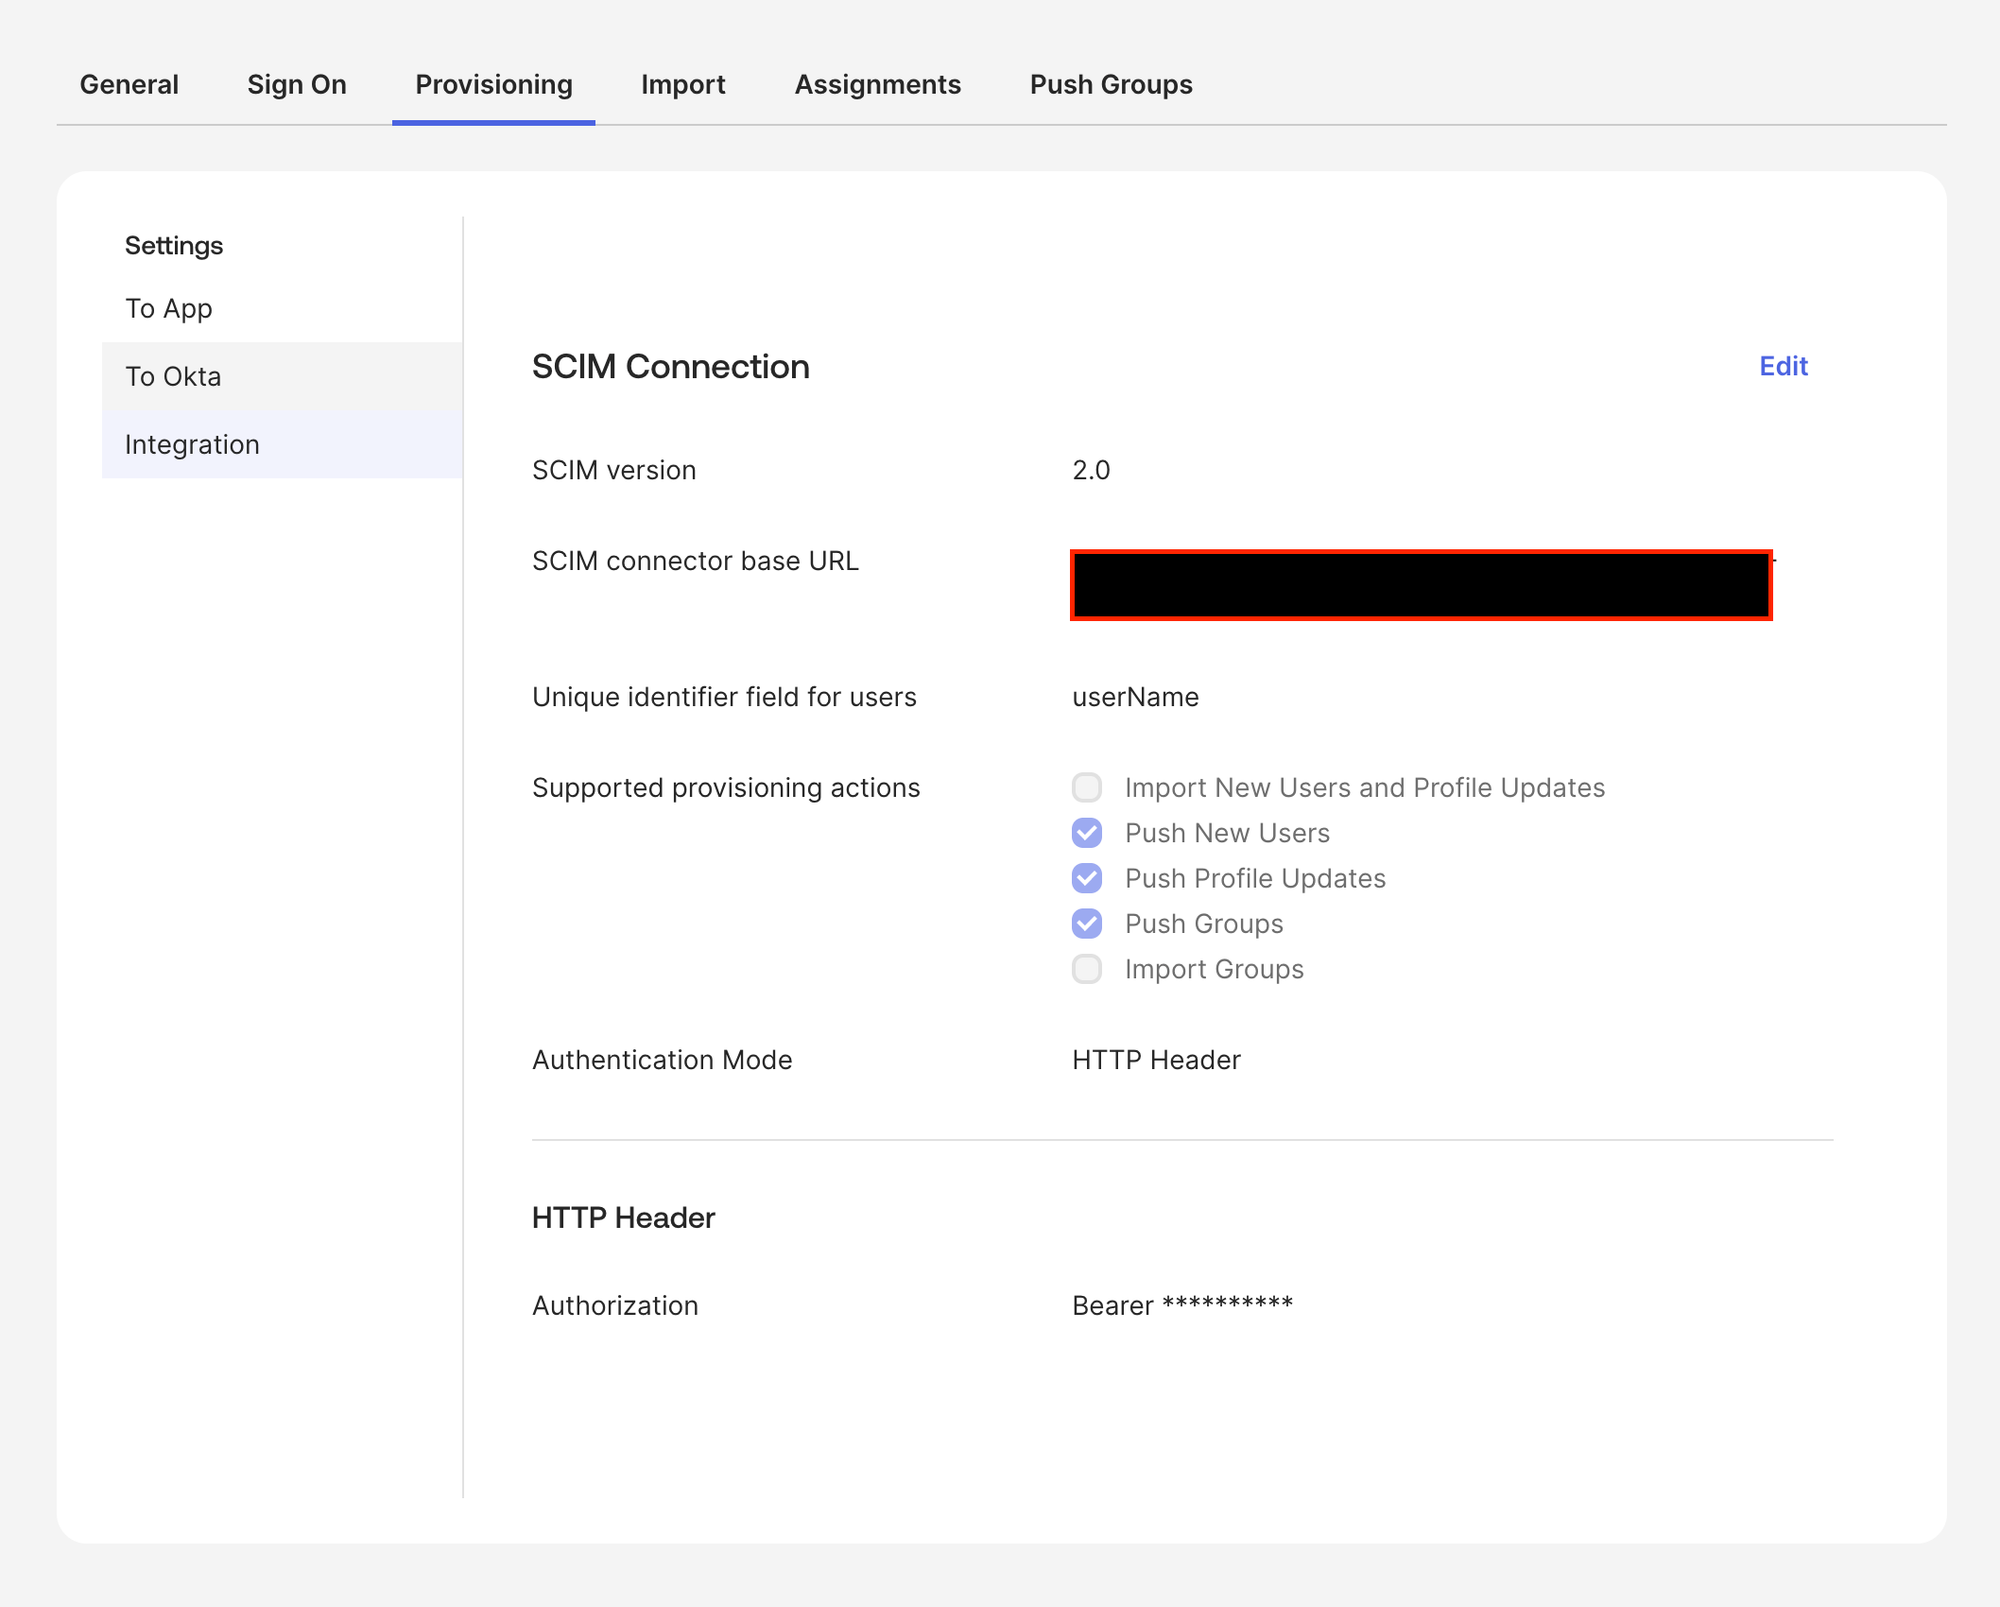
Configure the SCIM Connector in Okta
In the Okta Admin Console, open your Zenduty application and go to
Provisioning → Integration, then click Edit:
- SCIM version:
2.0 - SCIM connector base URL: Paste the base URL provided by Zenduty
- Unique identifier field for users:
userName - Supported provisioning actions: check Push New Users, Push
Profile Updates, Push Groups - Authentication Mode:
HTTP Header - HTTP Header → Authorization:
Bearer <your Zenduty SCIM token>
Click Test Connector Configuration and ensure it succeeds, then click
Save
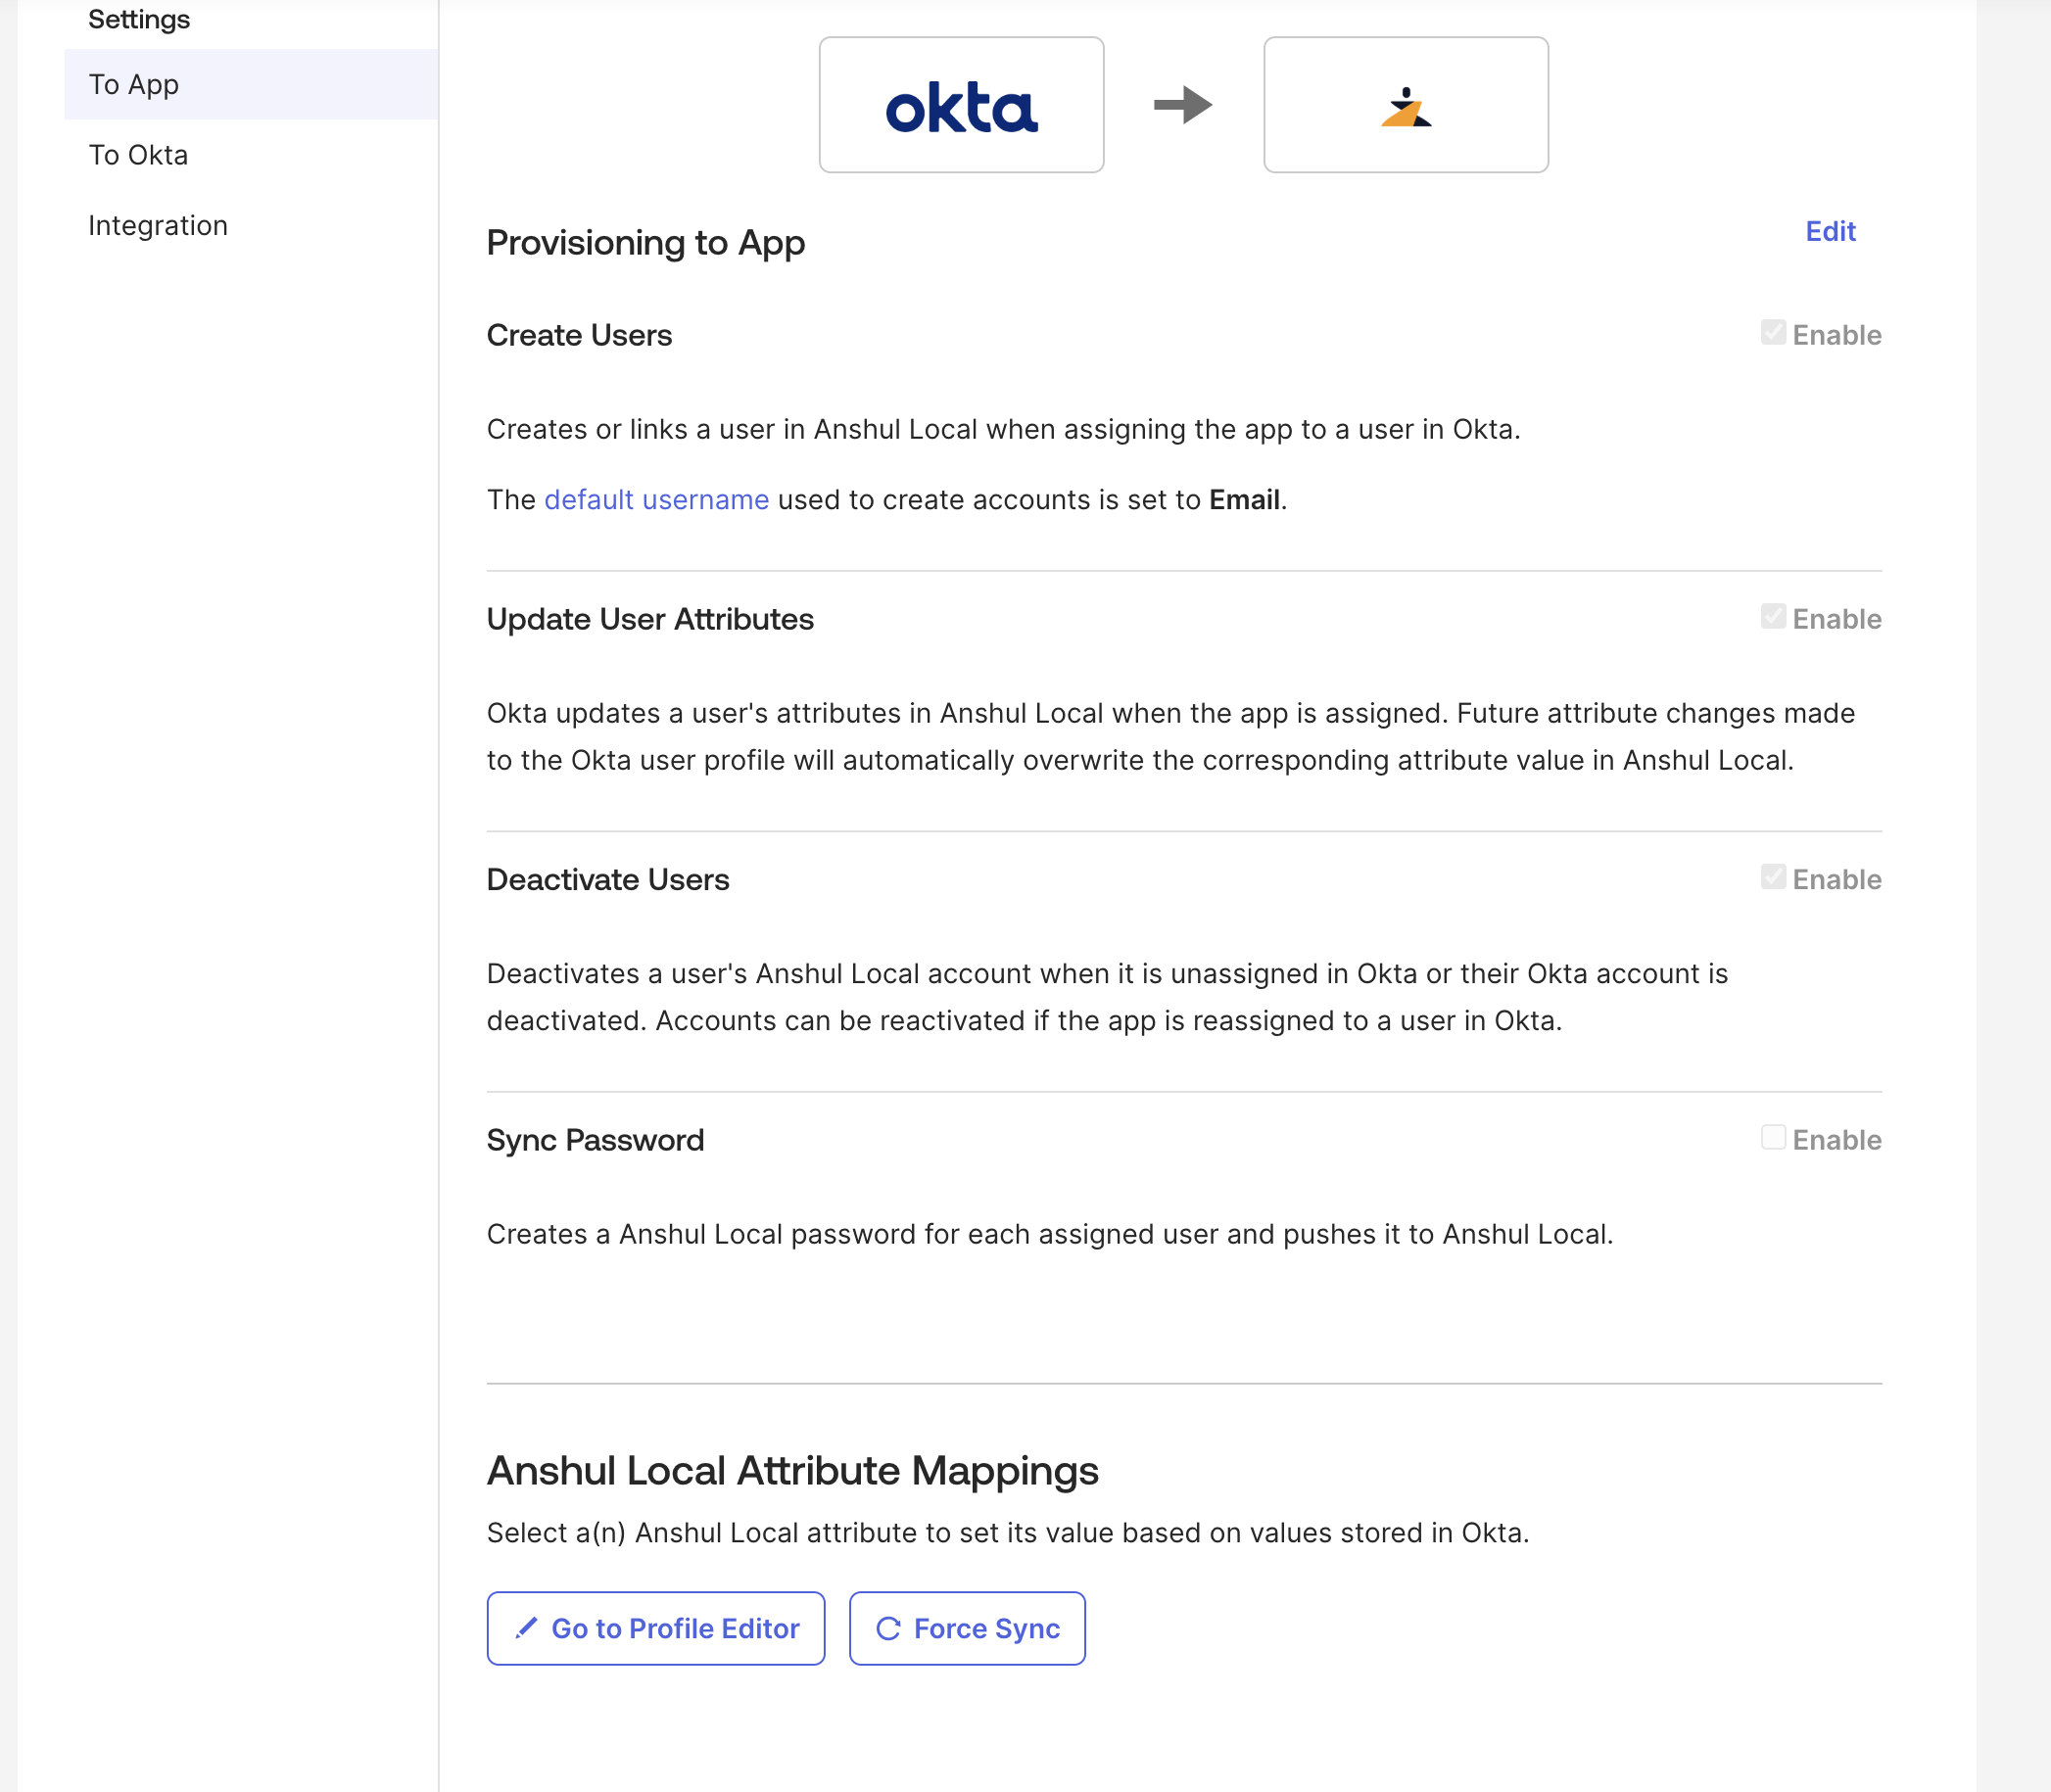
Provisioning to App (Enable Operations)
Open Provisioning → To App and click Edit. Enable the following
operations:
- Create Users
- Update User Attributes
- Deactivate Users
Note: The default username for account creation should be set to
Email (configured under Sign On). Sync Password must remain
disabled for SCIM.
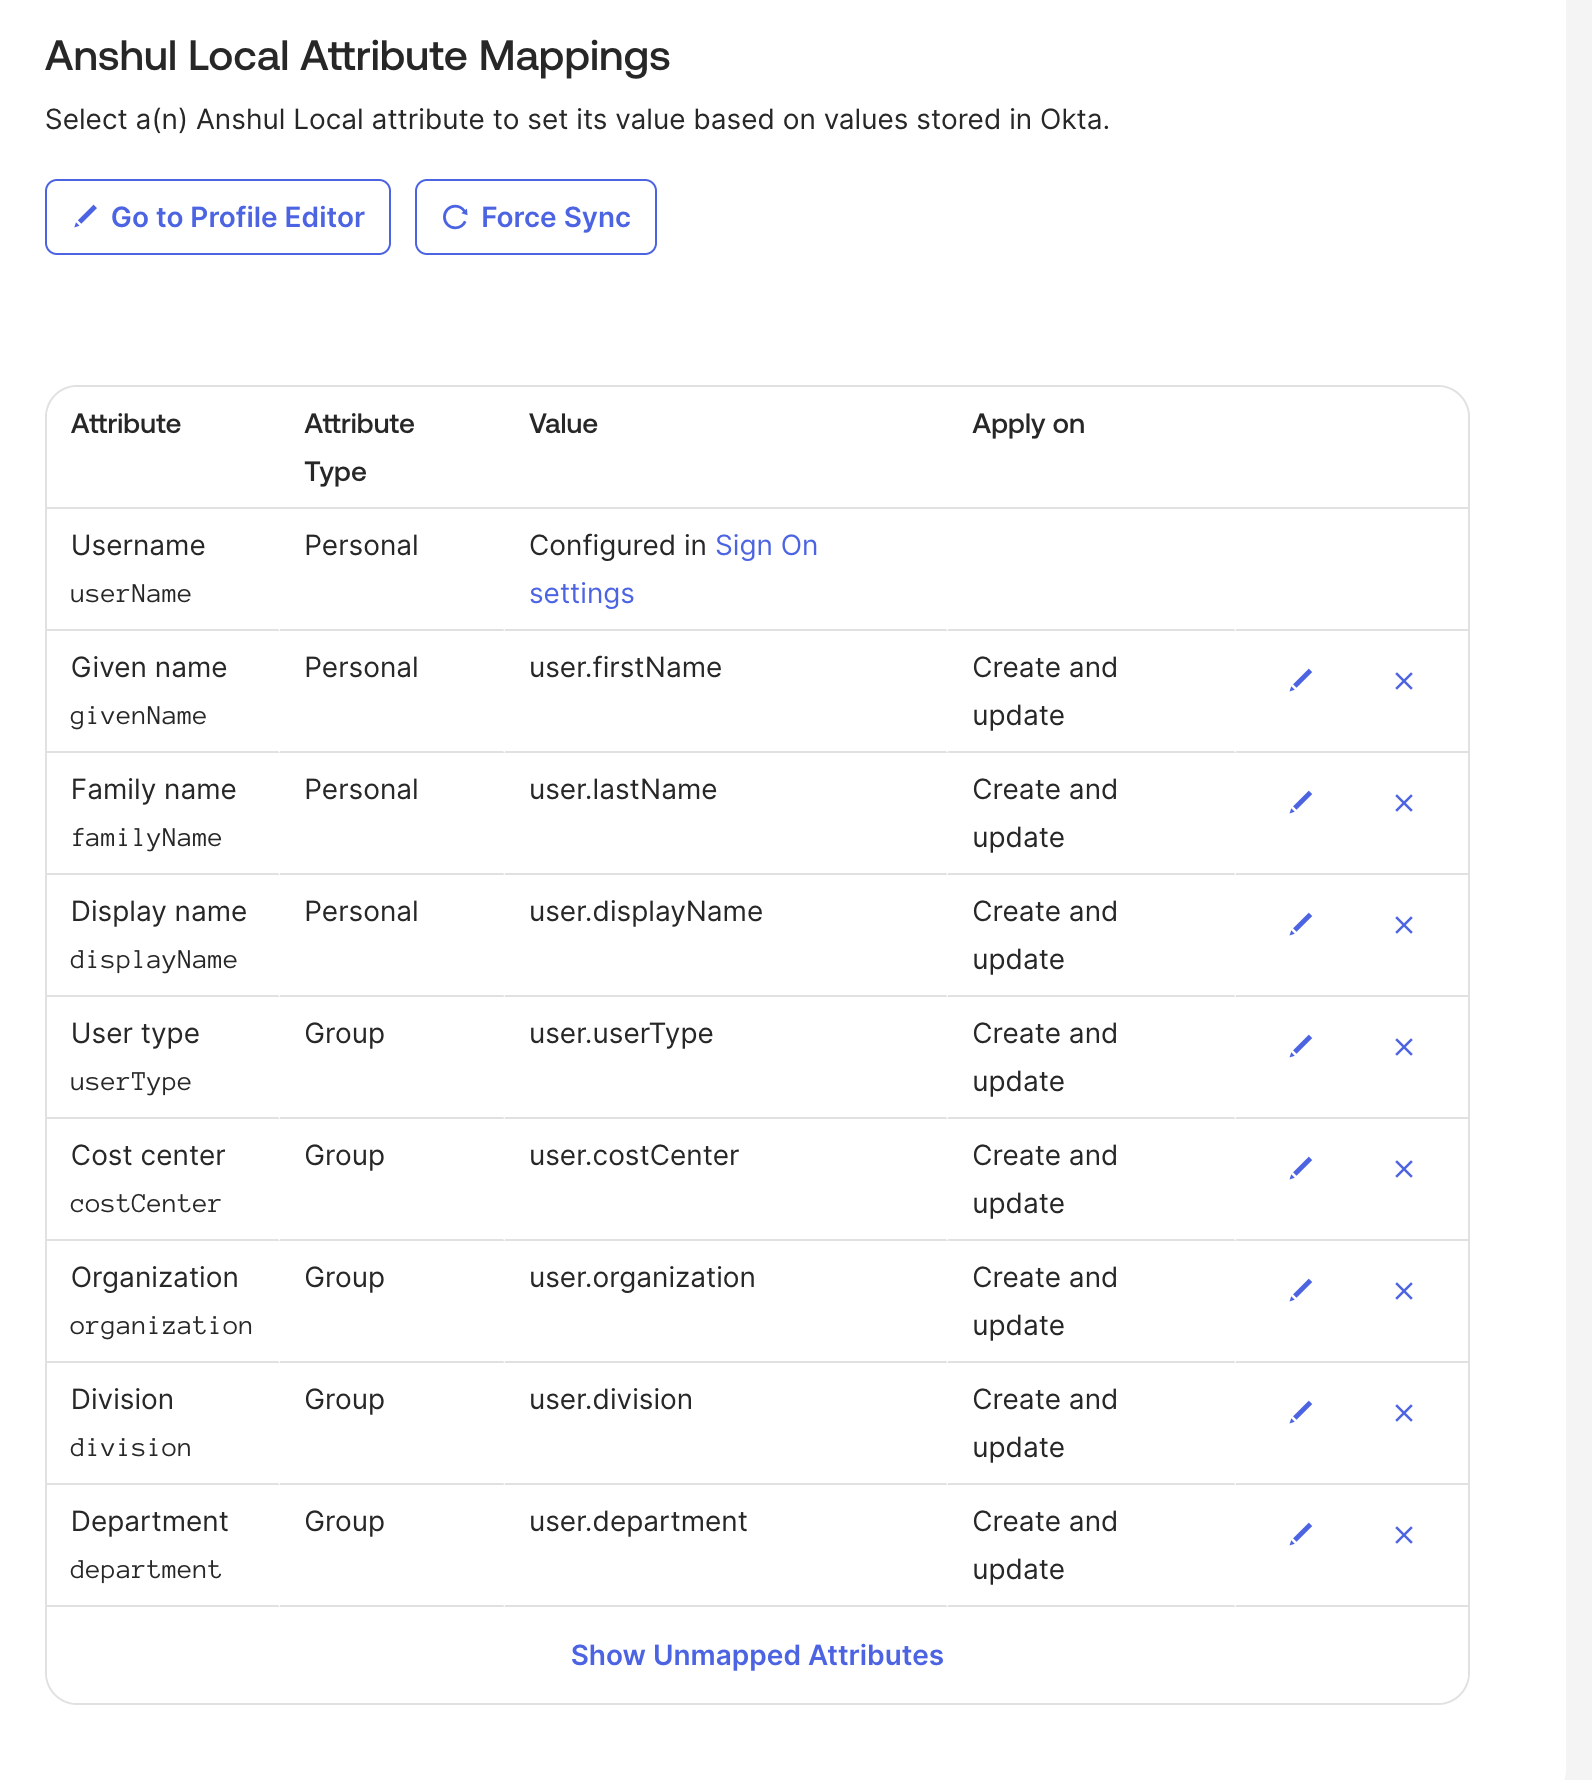
Attribute Mappings
Open Provisioning → To App → Attribute Mappings and use the following
mapping set:
| Zenduty Attribute | Type | Okta Value | Apply on |
|---|---|---|---|
userName |
Personal | (Configured in Sign On) | Create and update |
givenName |
Personal | user.firstName |
Create and update |
familyName |
Personal | user.lastName |
Create and update |
displayName |
Personal | user.displayName |
Create and update |
userType |
Group | user.userType |
Create and update |
costCenter |
Group | user.costCenter |
Create and update |
organization |
Group | user.organization |
Create and update |
division |
Group | user.division |
Create and update |
department |
Group | user.department |
Create and update |
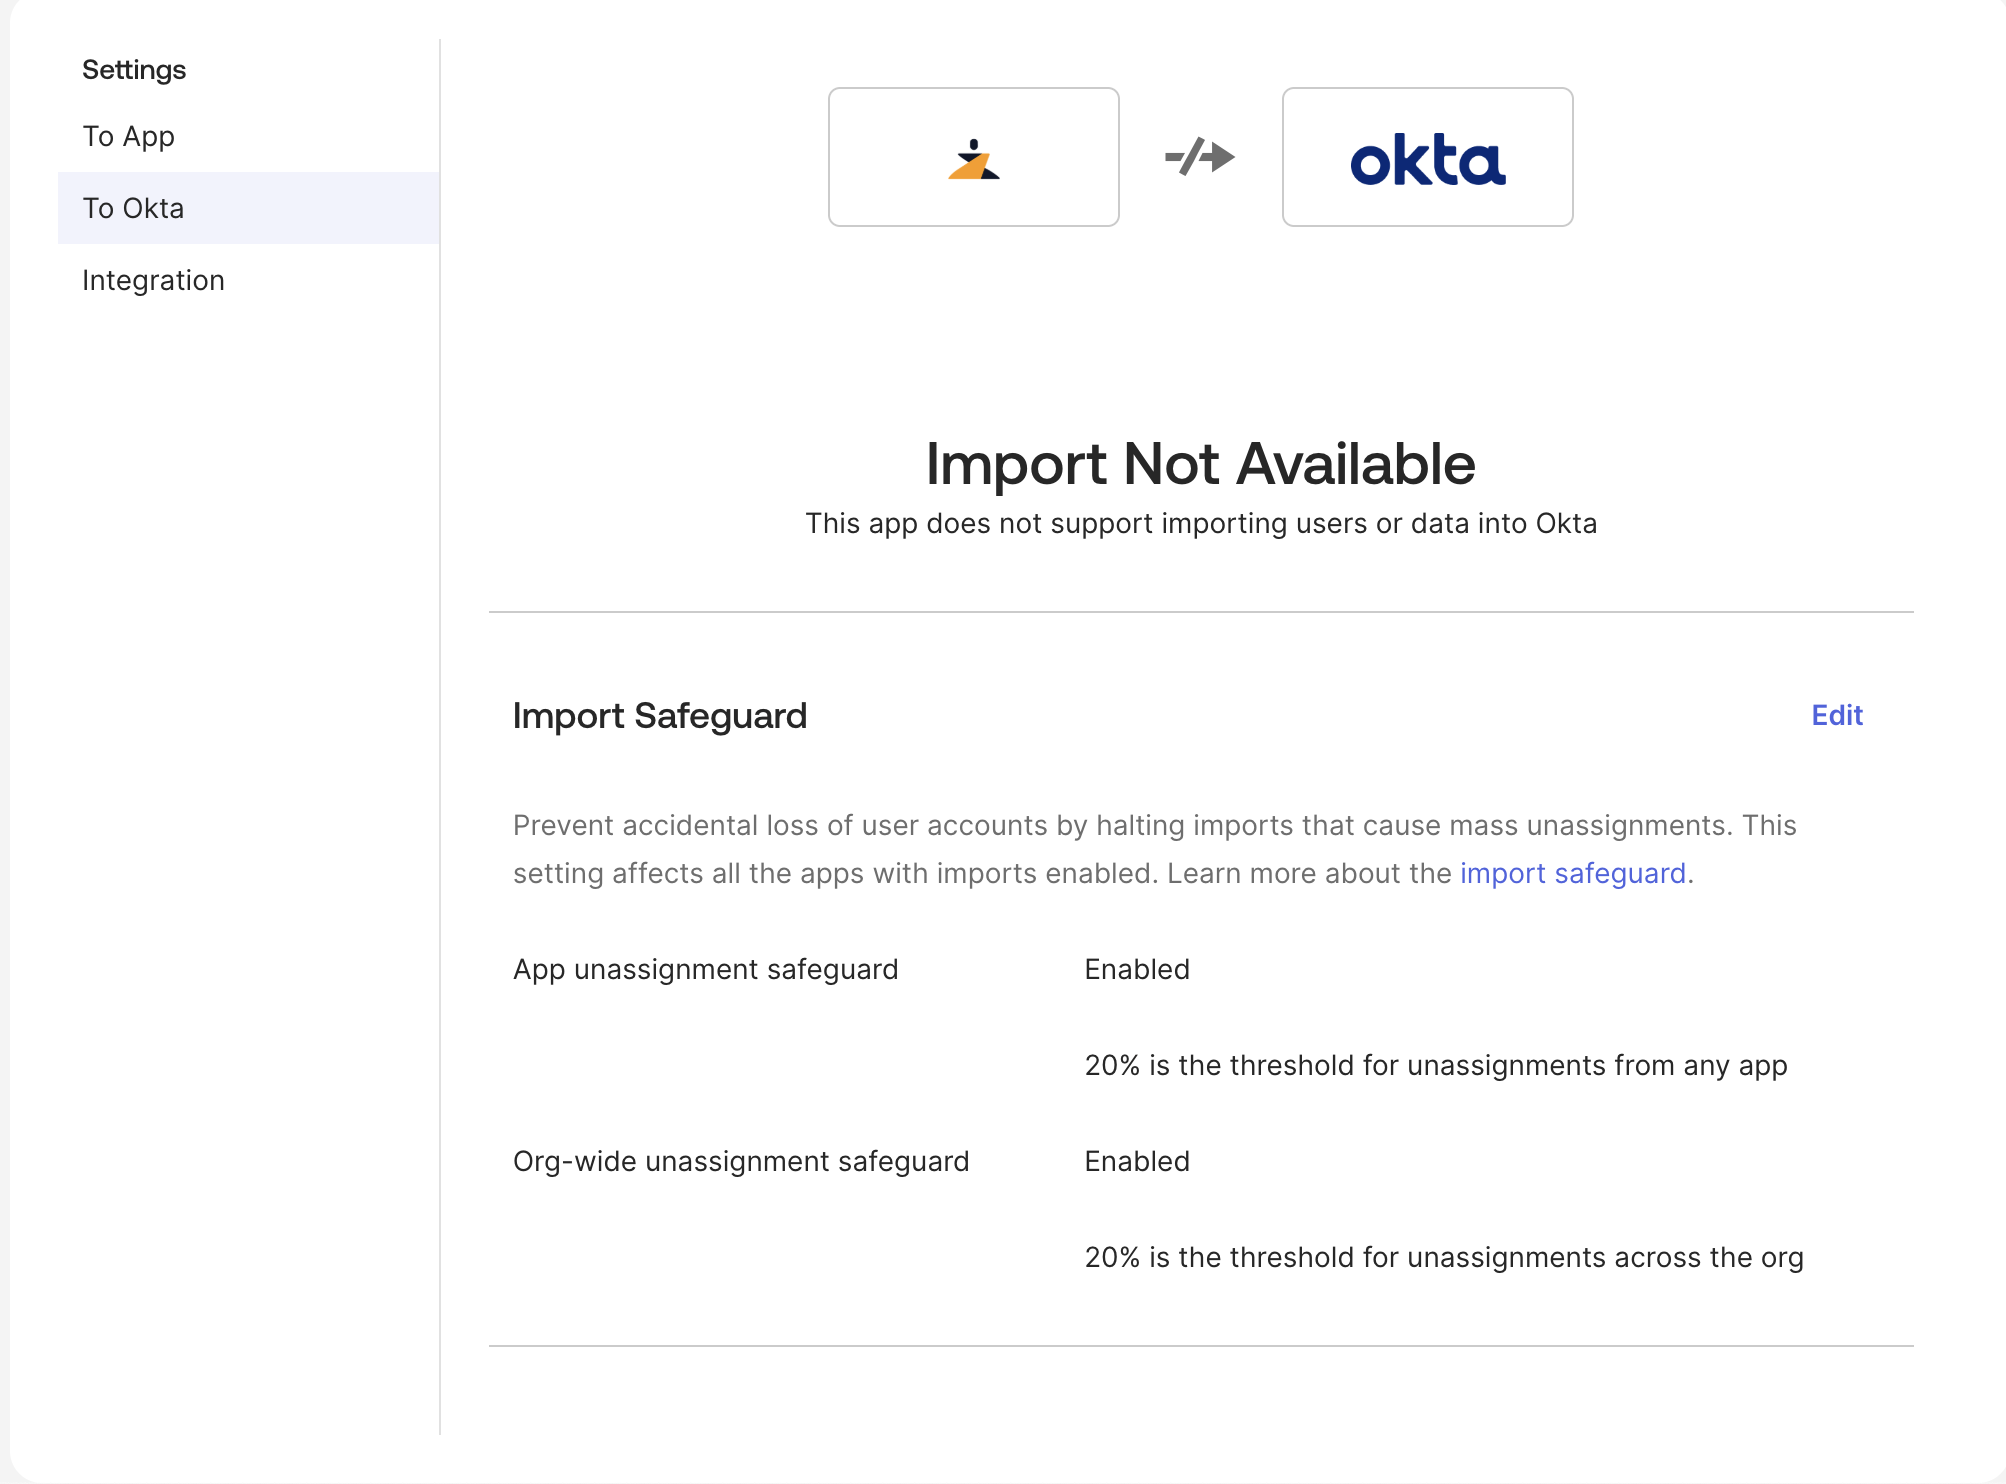
To Okta (Import Settings)
Under Provisioning → To Okta, the connector shows Import Not
Available.
This is expected—Zenduty is treated as a downstream application and does
not import users into Okta.
Ensure Import Safeguard thresholds meet your org policy (20% by
default)
You have successfully set up SCIM-based user provisioning between OKTA and Zenduty.