Sentry Integration Guide
Sentry is an open-source error tracking that helps developers monitor and fix crashes in real time. Sentry empowers developers to quickly triage and resolve issues while reducing everything-is-on-fire stress, chaos, and potential financial loss, by providing cross-stack visibility and deep context about errors. Each day, we process billions of exceptions from some of the most popular products on the internet.
What can Zenduty do for Sentry users?
With Sentry's Integration, Zenduty sends new error and bug alerts to the right team and notifies them based on on-call schedules via email, text messages(SMS), phone calls(Voice), Slack, Microsoft Teams and iOS & Android push notifications, and escalates alerts until the alert is acknowledged or closed. Zenduty provides your application engineers with detailed context around the Sentry alert along with playbooks and a complete incident command framework to triage and remediate and resolve incidents with speed.
You can also use Alert Rules to custom route specific Sentry alerts to specific users, teams or escalation policies, write suppression rules, auto add notes, responders and incident tasks.
To integrate Sentry with Zenduty, complete the following steps:
In Sentry:
- Log in to your Sentry account.
- From the navigation tab on the left, click on Settings' -> 'Integrations.
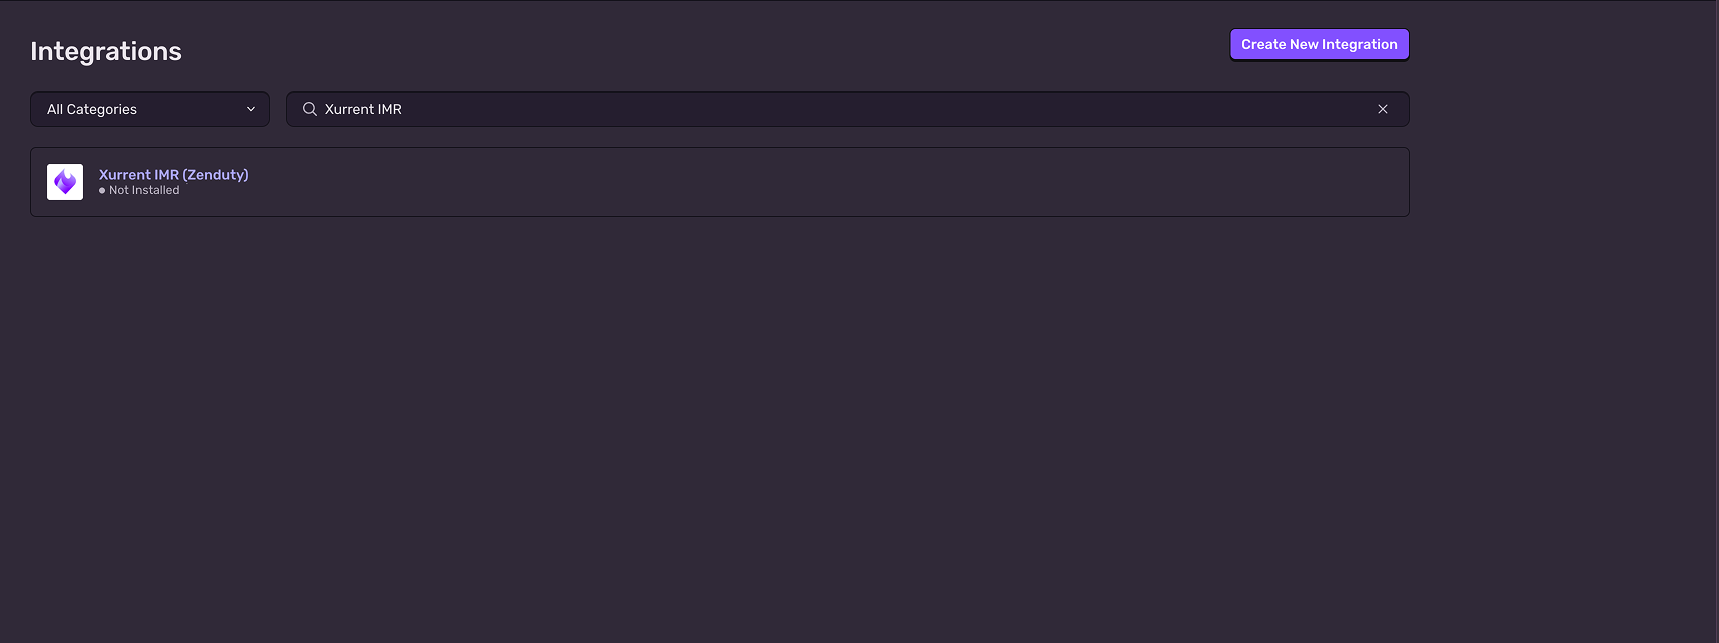
- Search for Xurrent IMR (Zenduty) and click on it. Now, click on the Accept & Install button.
Note: Before clicking this make sure that you have logged into your zenduty account in the same browser


- Now your Integraion is installed
In Zenduty:
- To add a new Sentry integration, go to Teams on Zenduty and click on the team you want to add the integration to.
- Next, go to Services and click on the relevant Service.
- Go to Integrations and then Add New Integration. Give it a name and select the application Sentry from the dropdown menu.
In Sentry:
-
Now, click on Alerts from the navigation tab on the left and the Create Alert button on the top right.
-
Select the kind of alert you want to setup and click on Set Conditions.
-
Select the Alert environment and project you're targetting the alert for.
-
Fill up the WHEN and IF conditions according to your alert's needs.
-
In the THEN section, Add Action -> integrations -> Xurrent IMR (Zenduty).

-
U can see settings button. Click on it and select the Integration name in zenduty which you want to alert

-
Set the action interval and ownership as desired and Save Rule.
-
Zenduty will create incidents and alerts whenever Sentry detects an error. Sentry is now integrated with Zenduty!
(Legacy) Sentry Integration Steps
In Zenduty:
- To add a new Sentry integration, go to Teams on Zenduty and click on the team you want to add the integration to.
- Next, go to Services and click on the relevant Service.
- Go to Integrations and then Add New Integration. Give it a name and select the application Sentry from the dropdown menu.
- Go to Configure under your integrations and copy the Webhook URL generated.
In Sentry:
-
Log in to your Sentry account.
-
From the navigation tab on the left, click on Settings' -> 'Integrations.
-
Search for Webhooks and click on it. Now, click on the Add to Project button.
-
Paste the Webhook URL you copied earlier under Callback URLs.
-
Click on Save Changes and Enable Plugin on the top right.

-
Now, click on Alerts from the navigation tab on the left and the Create Alert button on the top right.
-
Select the kind of alert you want to setup and click on Set Conditions.
-
Select the Alert environment and project you're targetting the alert for.
-
Fill up the WHEN and IF conditions according to your alert's needs.
-
In the THEN section, Add Action -> Send a notification via an integration -> Webhooks.

-
Set the action interval and ownership as desired and Save Rule.
-
Zenduty will create incidents and alerts whenever Sentry detects an error. Sentry is now integrated with Zenduty!
For Alerts about events other than Issues like Number of Errors, Crash free session rate, Throughput, Apdex etc., follow the steps below:
Custom Integration Supported Types - Number of Errors, Users Experiencing Errors, Crash Free Session Rate, Crash Free User Rate, Throughput, Transaction Duration, Apdex, Failure Rate, Largest Contentful Paint, First Input Delay, Cumulative Layout Shift and Custom Metric.
-
Navigate to Organization settings -> Integrations.

-
Click on Create New Integration and choose Internal Integration.

-
In the Edit Internal integration page, give this new integration a name Zenduty Internal Webhook For Non-Issue events.

-
In the Webhook URL section, paste the webhook URL copied from Step 4 above("In Zenduty").
-
Turn on the Alert Rule Action setting.

-
Go to your Project -> Alerts from your navigation tab. Click on the Create Alert button on the top right. In the Select Alert section, choose any of the events and click on Set Conditions.
-
Define your metric thresholds. In the Set actions section, Choose Critical Status -> Zenduty Internal Webhook For Non-Issue events.

-
Click on Save Rule.
