Statuscast integration guide
StatusCast is a status page and incident communication platform designed to keep end-users informed about system outages, downtime, and scheduled maintenance. It helps organizations proactively communicate service disruptions, reducing support tickets and improving transparency. With features like customizable status pages, incident automation, and integrations with monitoring tools, StatusCast ensures users are always in the loop during critical events.
What can this Zenduty integration do for Status cast users?
With StatusCast’s two-way integration with Zenduty, incident communication and response are tightly synchronized across both platforms. When an incident is triggered in StatusCast, Zenduty immediately generates an alert and notifies the appropriate team based on on-call schedules via email, SMS, voice calls, Slack, Microsoft Teams, and mobile push notifications. Zenduty continues escalating the alert until it’s acknowledged or resolved, while also providing NOC, SRE, and engineering teams with rich incident context, linked playbooks, and a full incident command framework to accelerate response.
Likewise, when a new incident is created in Zenduty—whether triggered by monitoring tools or manually—it automatically creates or updates the corresponding incident in StatusCast, keeping end-users informed without requiring manual input. Once the incident is resolved in either platform, the status is updated in both systems, ensuring alignment between internal response workflows and external communication.
You can further customize workflows using Alert Rules to route incidents, suppress noise, auto-add responders or notes, and assign tasks across both systems for a seamless incident lifecycle.
To integrate StatusCast with Zenduty, complete the following steps:
In Zenduty(Account Settings):
- Navigate to Account Settings → Connections.
- Select StatusCast, then click Add Domain.
- Enter the domain name of your StatusCast account.
- If signature verification is required, enable Check Signature.
- Follow the StatusCast setup steps to get the public and private keys.
- Paste the corresponding keys into the required fields.
- Click Save to complete the setup.
- After saving, you will see the Webhook URL.Please copy and save this URL for future use during the StatusCast configuration.


In StatusCast:
- Navigate to Settings -> Integrations.
- Install or Configure Webhook.
- If you plan to enable Use Signature Header, make sure to do this step before the Zenduty setup.
- Enable Use Signature Header and copy the Public Key and Private Key (these will be needed in Step 4 of the Zenduty setup).
- Paste the Webhook URL from Zenduty, and click Save.

- Navigate to Settings -> Settings, then select Beacons.
- Click New Integration.
- Enter the Beacon Name.
- Select Uptime Monitoring Service as the Beacon Type and click Next.
- Choose Zenduty as the provider and click Next.
- Select the user you want to assign the beacon to and click Next.
- Preview the integration details and click Submit.
- Copy the displayed Webhook URL and save it.


In Zenduty
- In Zenduty, navigate to the Teams section where you want to create the integration.
- Under the selected team, go to Services.
- Create a new service using the exact same name of the Service in StatusCast (note: the name is case-sensitive, so enter it carefully).
- Inside the service, click on Add Outgoing Integration.
- From the list, select StatusCast.
- Click Add Integration.
- Paste the Webhook URL you copied from StatusCast.
Note: Please refer to the Outbound Communication Guidelines document for the correct URL structure. - Click Save to complete the integration.

Note:
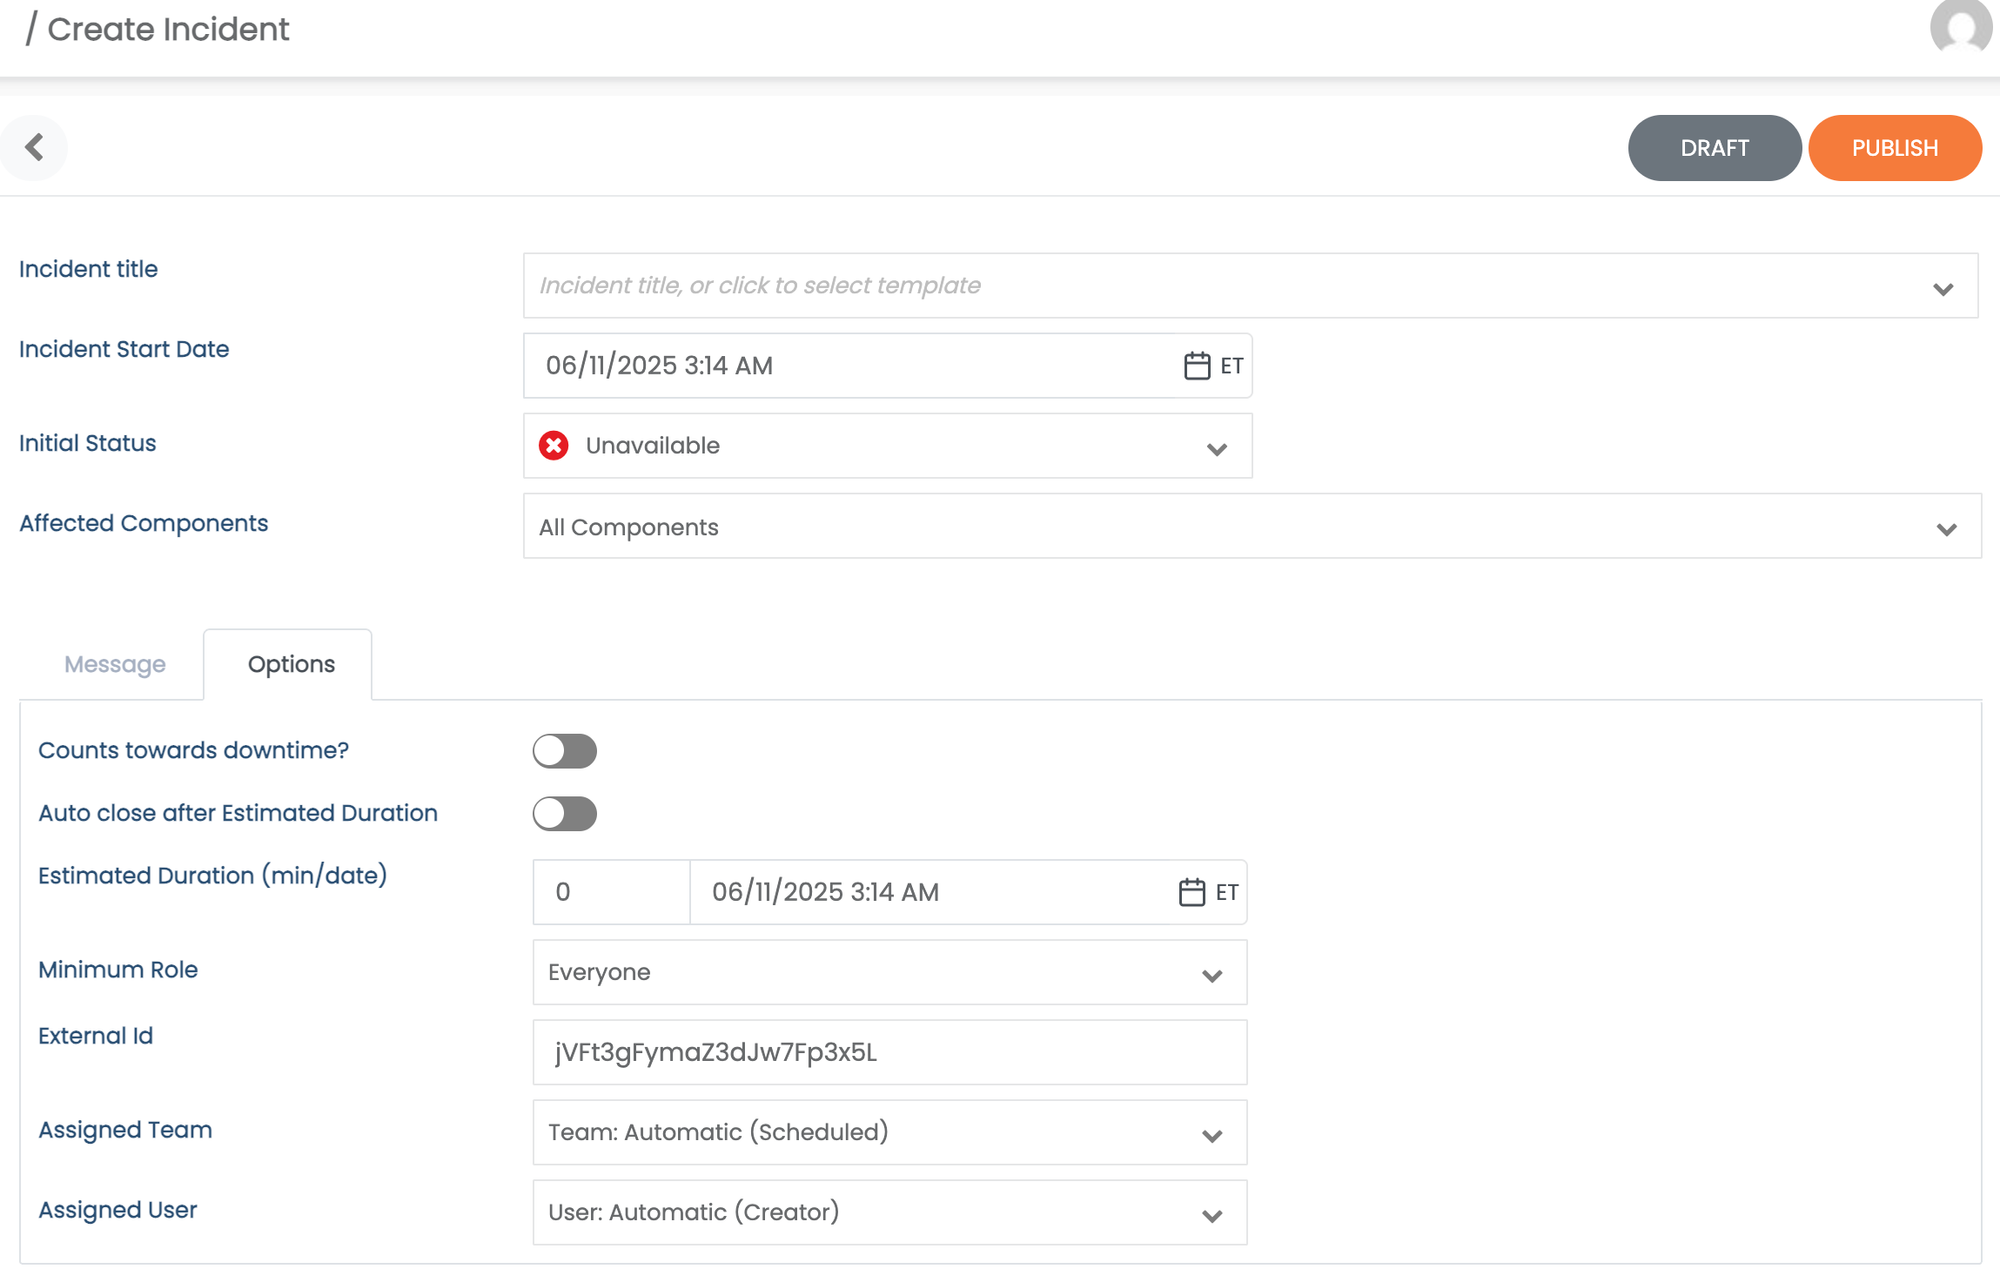
External Id is must while creating incident from statuscast.