Workflows
Workflows are powerful automated processes within the Zenduty platform, designed to enhance incident response, task management, and team communication. By connecting system events to a sequence of actions, workflows enable teams to automate critical operations efficiently.
Note: Workflows are exclusively available on paid plans.
How Workflows Work
Workflows are triggered by specific events in the system and execute a series of predefined actions based on configured conditions. They support automation for tasks such as:
- Incident assignment
- Priority adjustments
- Task creation
- Responder notifications
- Email/webhook communications
- Conditional branching and delays
This flexibility allows teams to tailor responses to various scenarios, improving response times and reducing manual effort.
Workflow Structure
A workflow is constructed using four core building blocks:
- Trigger: The event that initiates the workflow
- Action: The specific tasks or operations performed
- Condition: Logic that determines the workflow's path
- Delay: A timed pause to allow for resolution or further evaluation
Building Blocks of Workflows
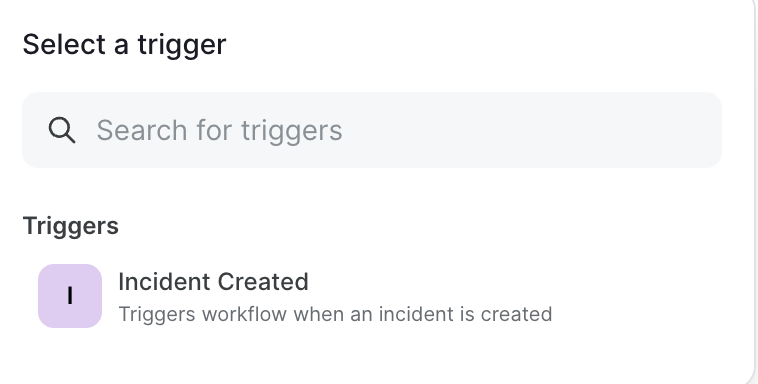
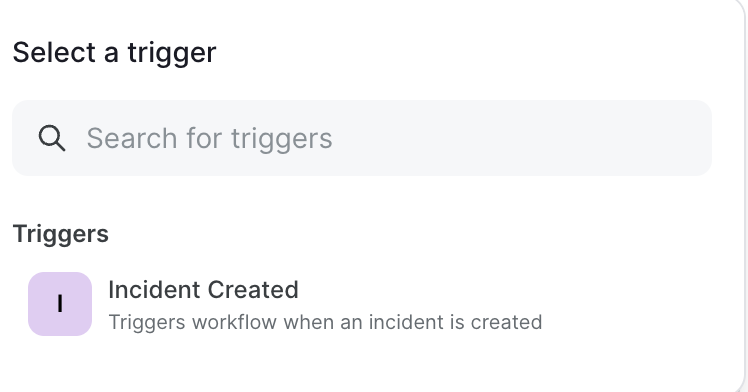
Triggers
A trigger is the event that starts the workflow, acting as the entry point for automation. Currently, Zenduty supports a single trigger, with plans to expand in future updates.
Available Triggers
Incident Created
- Description: Activates the workflow when a new incident is logged in the system
- Context Variables:
{{trigger_data.unique_id}}: Unique identifier (e.g.,550e8400-e29b-41d4-a716-446655440000){{trigger_data.summary}}: Incident summary (e.g.,Database connection timeout){{trigger_data.incident_number}}: Sequential number (e.g.,1234){{trigger_data.creation_date}}: Creation timestamp (e.g.,2024-01-15T10:30:00Z){{trigger_data.status}}: Status (1 = triggered, 2 = acknowledged, 3 = resolved){{trigger_data.title}}: Incident title (e.g.,Production Database Error){{trigger_data.service}}: Service UUID{{trigger_data.urgency}}: Urgency level (0 = low, 1 = high){{trigger_data.assigned_to}}: Assigned user (e.g.,john.doeornull)
Example: A workflow triggers when a new incident titled "Server Down" is created, using the "Incident Created" trigger to initiate automated steps.

Actions
Actions are the operational steps executed within the workflow, defining what happens after a trigger. Users can chain multiple actions to handle incidents comprehensively.
Available Actions
Change Incident Status
- Parameters:
status(required: 1 = Triggered, 2 = Acknowledged, 3 = Resolved) - Example:
{"status": 3}sets the status to "Resolved"
Change Priority
- Parameters:
priority(required, team-defined values) - Example:
{"priority": "P1"}sets priority to "P1"

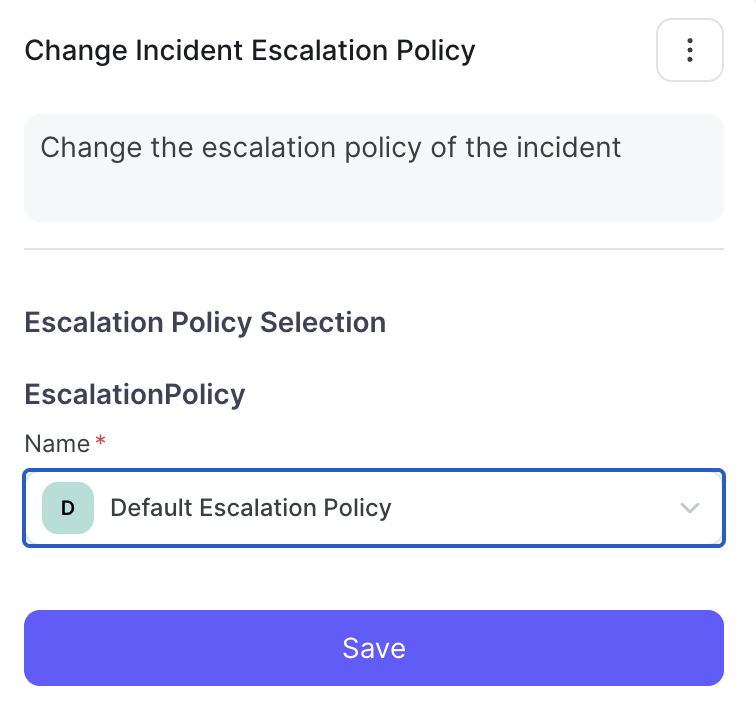
Change Escalation Policy
- Parameters:
escalation_policy(required, policy ID or name) - Example:
{"escalation_policy": "Default Escalation Policy"}routes to the senior team
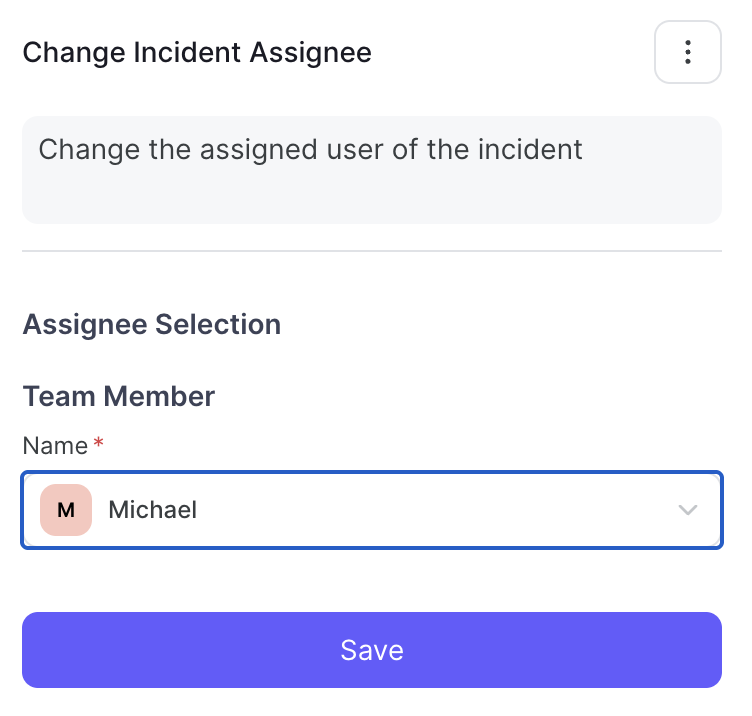
Change Assignee
- Parameters:
assignee_username(required) - Example:
{"assignee_username": "Michael"}assigns to "Michael"
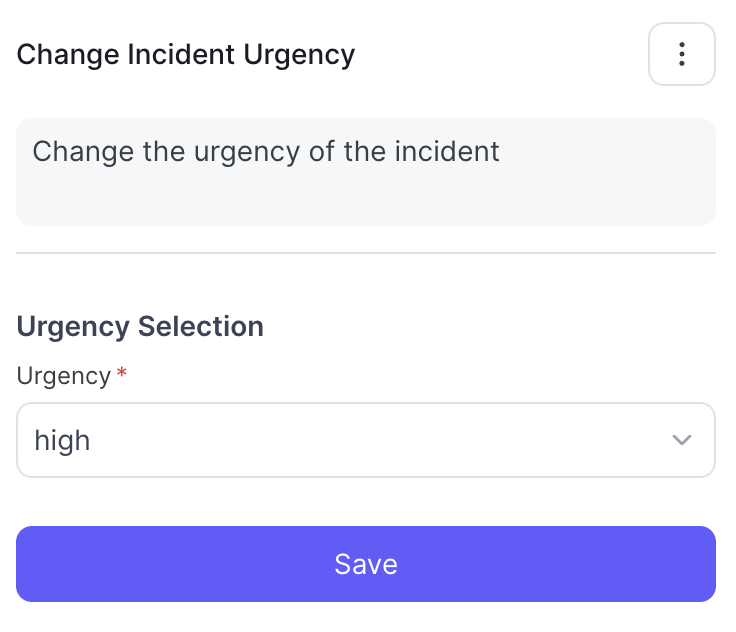
Change Urgency
- Parameters:
urgency(required: 0 = Low, 1 = High) - Example:
{"urgency": 1}sets urgency to "High"
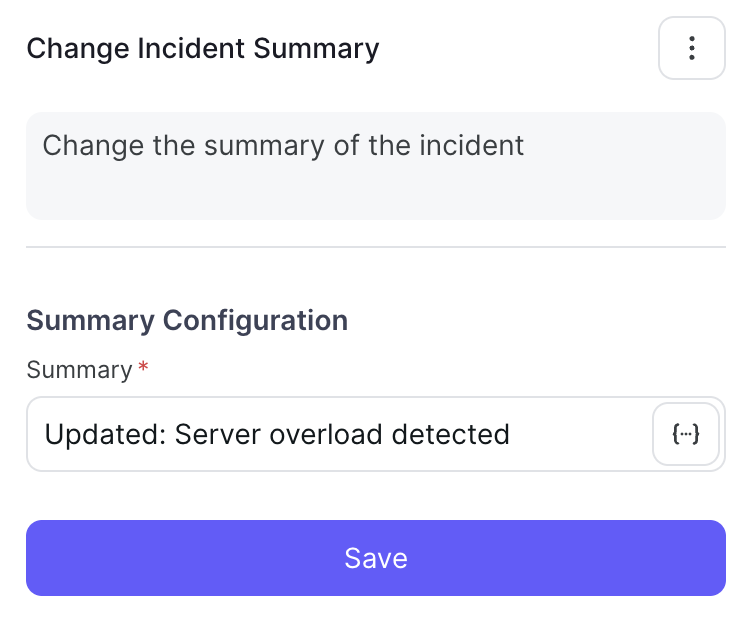
Change Summary
- Parameters:
summary(required, new text) - Example:
{"summary": "Updated: Server overload detected"}revises the summary
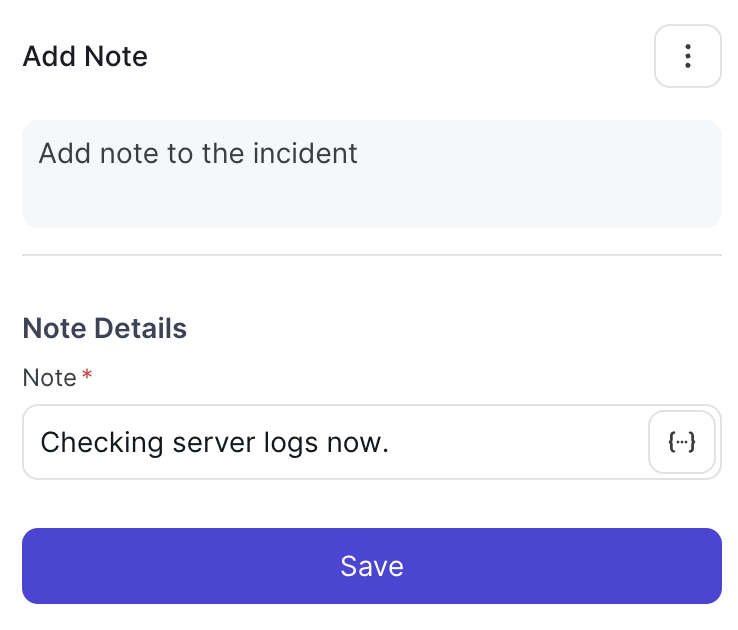
Add Note
- Parameters:
note(required, text content) - Example:
{"note": "Checking server logs now."}adds a note
Add Task
- Parameters:
title(required)description(optional)due_in(optional, minutes)assigned_role(optional, e.g., engineer)
- Example:
{"title": "Review Logs", "due_in": 120, "assigned_role": "engineer"}creates a task

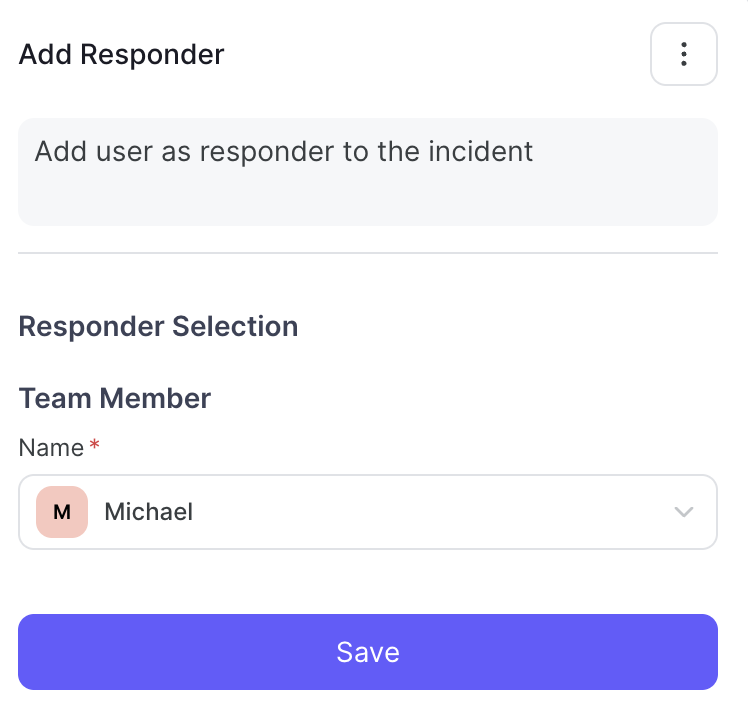
Add Responder
- Parameters:
responder_username(required) - Example:
{"responder_username": "Michael"}adds a responder

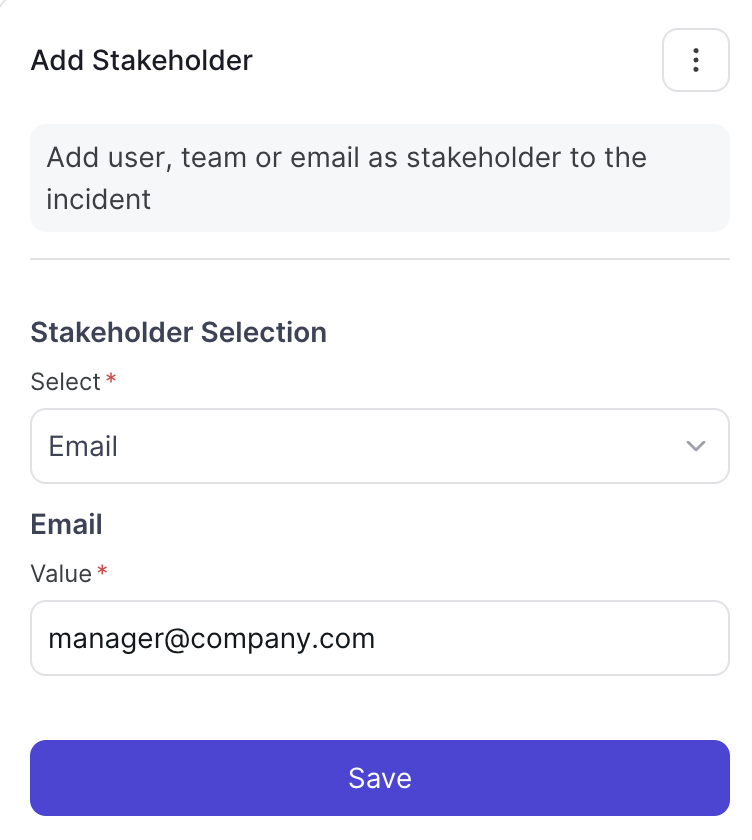
Add Stakeholder
- Parameters:
stakeholder_email(required) - Example:
{"stakeholder_email": "manager@company.com"}adds a stakeholder
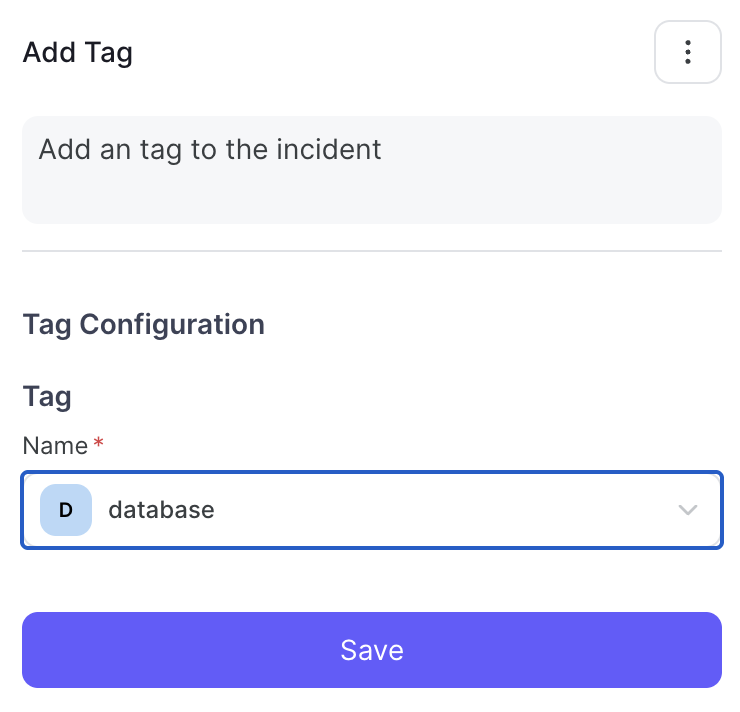
Add Tag
- Parameters:
tags(required, array of strings) - Example:
{"tags": ["database", "production"]}adds tags
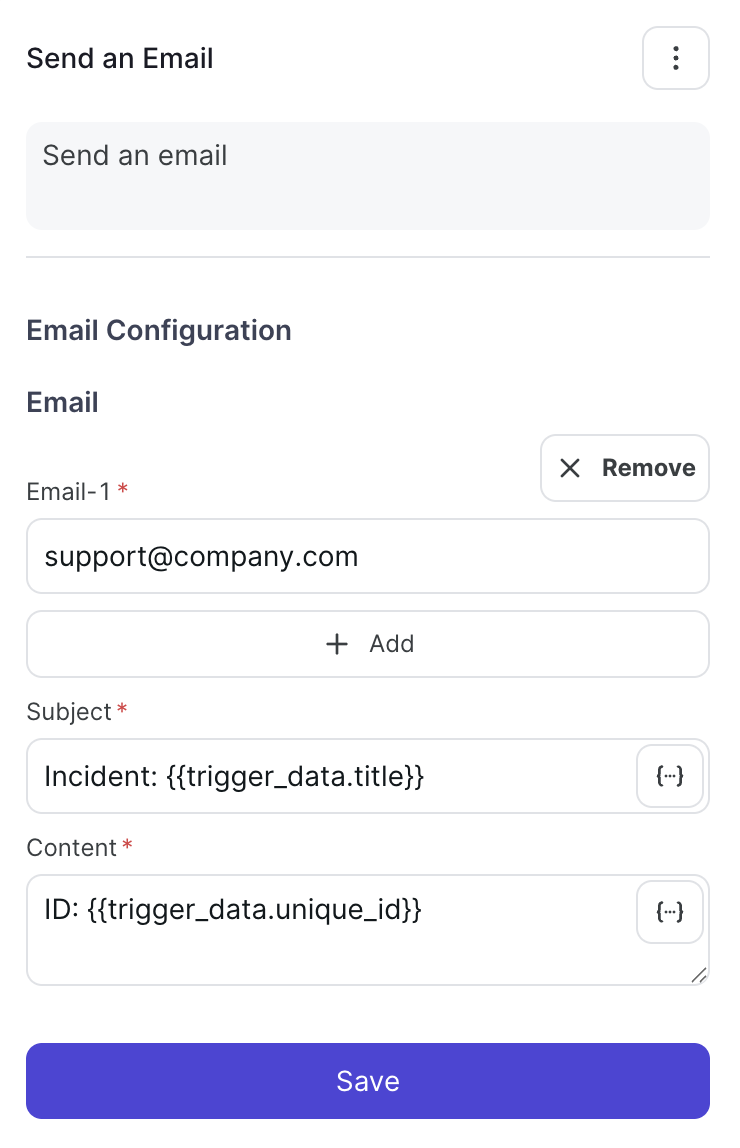
Send Email
- Parameters:
to(required, email or array)subject(required)message(required, supports templating)
- Example:
{"to": "support@company.com", "subject": "Incident: {{trigger_data.title}}", "message": "ID: {{trigger_data.unique_id}}"}sends an email
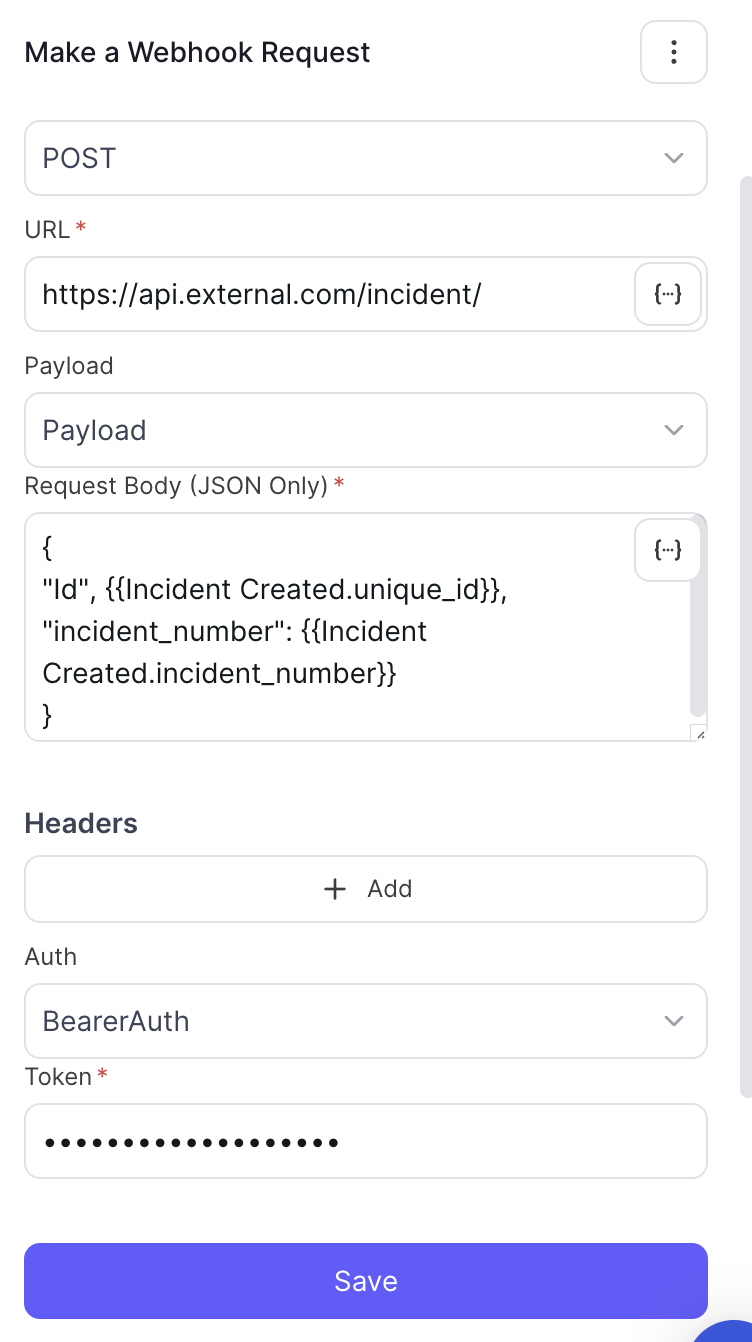
Send Webhook
- Parameters:
url(required)method(required, e.g., POST)headers(optional)body(optional)
- Example:
{"url": "https://api.external.com", "method": "POST", "body": "{\"Id\": \"{{Incident Created.unique_id}}\", \"incident_number\": \"{{Incident Created.incident_number}}\"}"}sends a webhook
Conditions
Conditions evaluate logic to branch the workflow, using "left value," "operator," and "right value," or "True"/"False" outcomes to decide the next steps.
Supported Operators
eq: Equalneq: Not Equallt: Less Thangt: Greater Thanlte: Less Than or Equalgte: Greater Than or Equalcontains: Containsdoes not contain: Does Not Contain
Parameters
- left_value: The variable to evaluate (e.g.,
{{trigger_data.urgency}}) - operator: The comparison operator (e.g.,
eq) - right_value: The value to compare against (e.g.,
1)
Example: A condition checks if urgency is High: {"left_value": "{{trigger_data.urgency}}", "operator": "eq", "right_value": 1}. If true, it assigns a responder; if false, it proceeds normally.
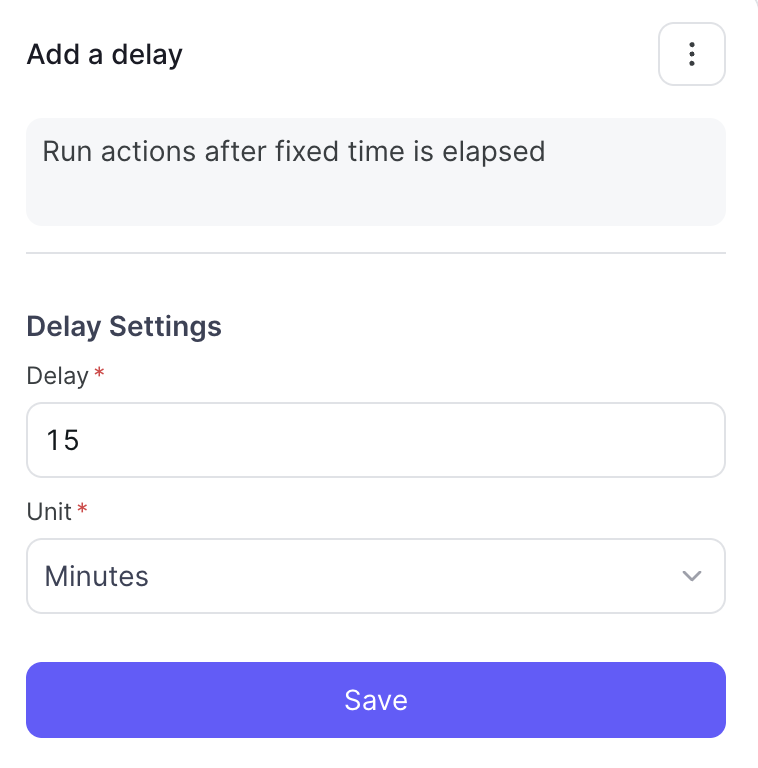
Delays
A delay pauses the workflow for a specified duration, allowing time for manual intervention or status updates.
Parameters
- delay: Number of time units (e.g.,
15) - unit: Time unit (
"minutes"or"seconds")
Example: A delay of 15 minutes {"delay": 15, "unit": "minutes"} waits before checking if an incident is resolved.
Creating Workflows
- Navigate to the Workflows tab in your Zenduty dashboard
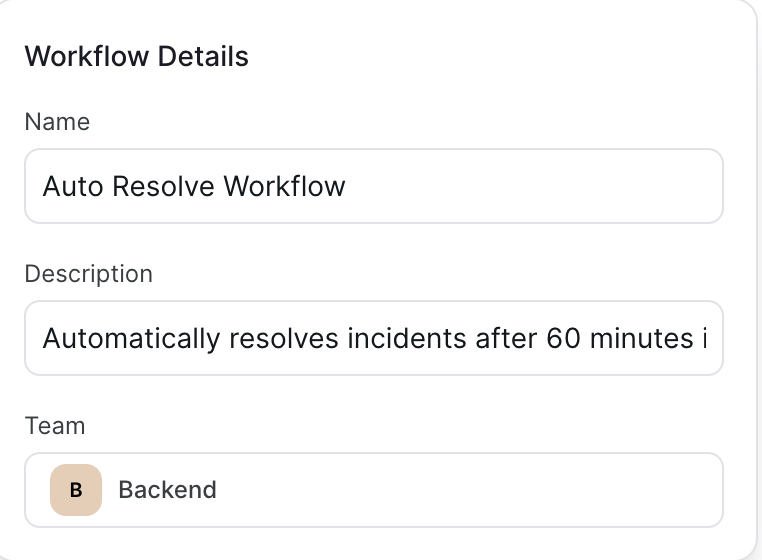
- Click Create Workflow and enter the workflow 'Name' and 'Description'

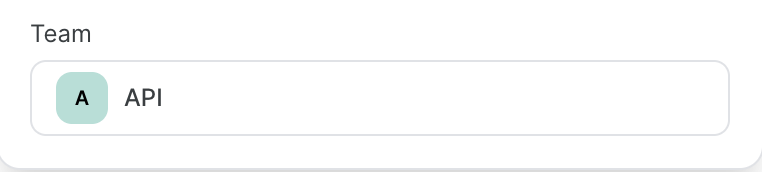
- Assign the workflow to a team (e.g., Backend Team or API Team) and click Create
- Select the Incident Created trigger

- Add actions (e.g., "Change Status," "Send Email"), conditions, and delays as needed
- Click Save to activate

Important: Ensure you have the required permissions to create and manage workflows.
Use Cases and Examples
Use Case 1: Auto-Resolve an Incident
Automates the resolution of minor incidents after a 60-minute window.
Create the Workflow
- Name: "Auto Resolve"
- Description: "Automatically resolves incidents after 60 minutes if unresolved"
- Team: Backend Team
Flow Steps
- Trigger: "Incident Created" initiates the workflow
- Delay: Wait 60 minutes to allow resolution attempts

- Condition: Check if status is not "Resolved" (
{{trigger_data.status}}not equal3)

- Action: If true, update status to "Resolved" (
{"status": 3})

Here is the workflow shown below:

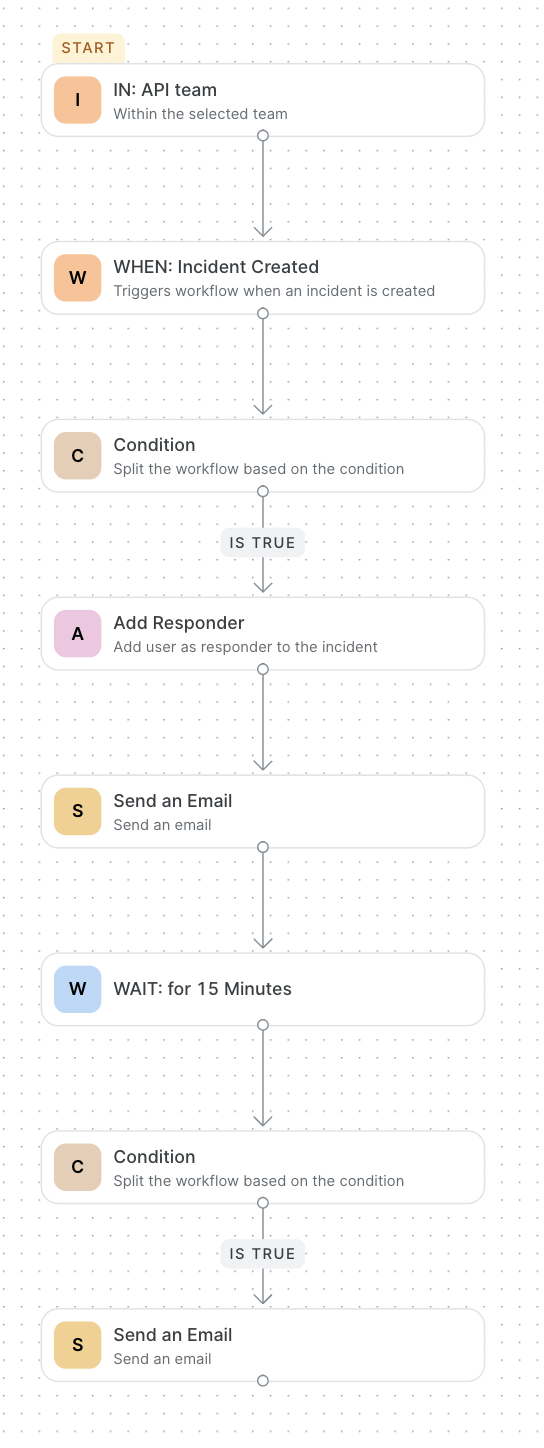
Use Case 2: Major Incident Workflow - P0 Incident Updates
Manages critical P0 incidents with timely updates.
Create the Workflow
- Name: "Major Incident Workflow"
- Description: "Sending updates for P0 incidents"
- Team: API Team

Flow Steps
- Trigger: "Incident Created" starts the process
- Condition: Check if team priority is P0 (
{{Incident Created.team_priority}}eq"6ac5f10d-9680-4391-9c0e-6e492fb24960a")

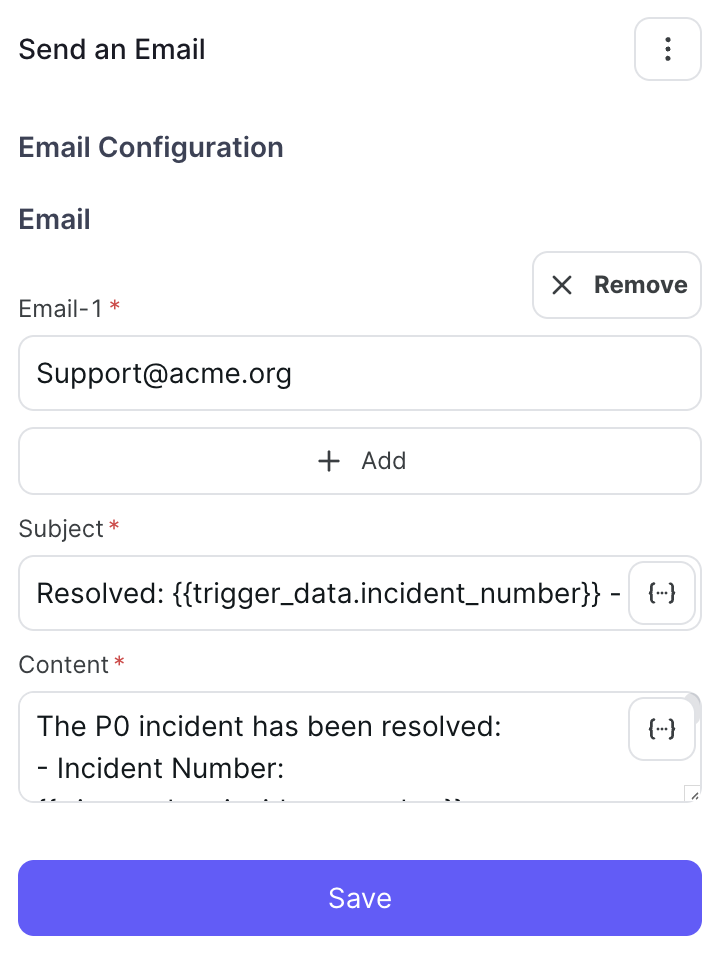
- Action (True): Add responder "Michael" and send email:
To: ‘support@acme.org’
Adding a Responder:
- Send email to
support@acme.orgwith subject:"P0 Incident Detected: {{trigger_data.title}} (Incident #{{trigger_data.incident_number}})"

- Delay: Wait 15 minutes
- Condition: Check if status is "Resolved" (
{{trigger_data.status}}eq3)

- Action (True): Send resolution email to
support@acme.org
Here is the WorkFlow shown below :
Use Case 3: Proactive Monitoring Alert
Automate notifications for incidents requiring immediate attention based on urgency.
Create the Workflow
- Name: "Urgent Alert Workflow"
- Description: "Sends alerts for high-urgency incidents"
- Team: Operations Team

Flow Steps
- Trigger: "Incident Created" starts the workflow

- Condition: Check if urgency is "High" (
{{Incident Created.urgency}}eq'1')

- Action (True): Send email to
ops@acme.orgwith urgent alert - Delay: Wait 10 minutes

- Condition: Check if status is not "Resolved" (
{{Incident Created.status}}not eq3)

- Action (True):
- Add note about ongoing triage
- Add stakeholder
manager@company.com
Best Practices for Workflows
To maximize the effectiveness of workflows, consider the following guidelines:
Keep Conditions Simple
Use straightforward logic to avoid complex branching that may confuse troubleshooting efforts.
Monitor Delays
Set reasonable delay times to balance automation with human intervention opportunities.
Document Changes
Add notes within the workflow to explain the purpose of each step for future reference.
Assign Clear Teams
Ensure workflows are assigned to teams with appropriate permissions and expertise.
Troubleshooting Workflows
If a workflow fails to execute as intended, follow these steps:
- Review Condition Logic: Ensure the
left_value,operator, andright_valueare correctly configured - Inspect Action Parameters: Confirm all required parameters (e.g.,
status,to) are provided and valid - Examine Delay Timing: Ensure the delay duration aligns with the expected resolution timeline
- Contact Support: If issues persist, reach out to Zenduty support with workflow details and error logs
Advanced Configuration Tips
Templating in Emails/Webhooks
Leverage mustache templating (e.g., {{trigger_data.unique_id}}) to include dynamic incident data in communications.
Chaining Actions
Combine multiple actions (e.g., "Add Note" followed by "Send Email") to create a comprehensive response.
Conditional Escalation
Use conditions to escalate only high-urgency incidents to senior teams.
Integration with Existing Tools
Workflows can enhance integration with existing Zenduty features:
Escalation Policies
Use "Change Escalation Policy" to dynamically route incidents based on conditions.
Responders
Leverage "Add Responder" to include on-call team members automatically.
Notifications
Combine "Send Email" and "Send Webhook" to notify both internal teams and external systems (e.g., Slack, PagerDuty).
Frequently Asked Questions
What happens if a delay exceeds resolution time?
The workflow continues after the delay, checking the latest incident status.
Are there limits on actions per workflow?
No strict limits, but keep workflows efficient by focusing on key actions.
Ready to implement automated incident response? Start building your first workflow today and streamline your team's operations with Zenduty's powerful automation capabilities.